
Over $2.8 billion is spent every year by american property owners tackling invasive plants like Japanese knotweed. Ignoring these risks can lead to structural damage and steep legal costs that catch buyers off guard. Understanding how to assess and protect your property gives you peace of mind and helps secure your investment before knotweed ever becomes a problem.
Table of Contents
- Step 1: Assess Property For Knotweed Risks
- Step 2: Prepare The Site For Barrier Installation
- Step 3: Select And Source The Appropriate Root Barrier
- Step 4: Install The Knotweed Root Barrier Effectively
- Step 5: Verify Barrier Integrity And Ensure Ongoing Protection
Quick Summary
| Key Insight | Explanation |
|---|---|
| 1. Assess for Knotweed Risks | Conduct thorough inspections to identify Japanese knotweed presence before property acquisition or development to protect your investment. |
| 2. Prepare Site Before Installation | Clear affected areas entirely to prevent knotweed regrowth, ensuring proper mapping and disposal of material according to legal guidelines. |
| 3. Choose the Right Root Barrier | Select a durable, high-density polyethylene barrier that meets performance criteria and hire professionals for installation to ensure effectiveness. |
| 4. Install Barrier with Precision | Properly excavate and install the barrier to create an effective containment system, overlapping sections to prevent any escape routes for rhizomes. |
| 5. Monitor Barrier Integrity Ongoing | Regularly inspect the barrier for damage and potential breaches, documenting findings to ensure the long-term effectiveness of your knotweed control measures. |
Step 1: Assess Property for Knotweed Risks
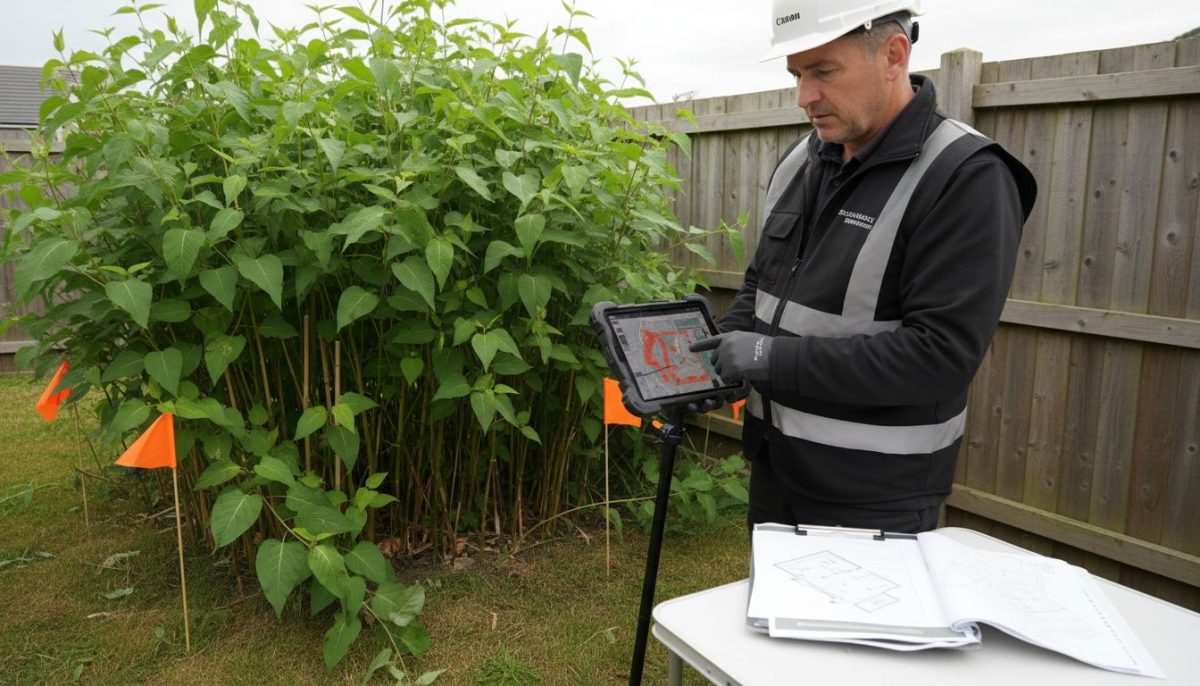
Identifying potential Japanese knotweed risks before purchasing or developing a property is crucial for protecting your investment. According to the Royal Institution of Chartered Surveyors (RICS), a comprehensive assessment requires more than just measuring distance from structures.
To thoroughly assess property risks, start with a visual inspection of the landscape. Look for distinctive bamboo-like stems with green and reddish purple speckled coloration, often growing in dense clusters near building foundations or boundary lines. Pay special attention to areas with disturbed ground, such as construction zones or landscaped regions where rhizomes might have been accidentally transported. UK Centre for Ecology & Hydrology recommends checking your specific postcode against their high-resolution predictive model to understand localized knotweed presence risks.
Warning: Do not rely solely on visual inspection. Professional surveys can detect underground rhizome networks that might not be immediately visible. A trained expert can help you understand the full extent of potential knotweed infestation and recommend appropriate root barrier or treatment strategies before significant property damage occurs.
Step 2: Prepare the Site for Barrier Installation
Successfully installing a root barrier requires meticulous site preparation to prevent future Japanese knotweed spread. UK Government guidance emphasizes the critical importance of thorough initial site management before barrier installation.
Begin by completely clearing the area of existing knotweed vegetation. This means removing all visible above-ground stems and carefully excavating the surrounding soil to minimize potential rhizome regrowth. Use protective equipment like heavy-duty gloves and sealed boots to prevent accidental contamination. Map the entire infested area, marking precise boundaries to ensure comprehensive root barrier coverage. You will want to create a clear perimeter that extends well beyond the visible plant growth, accounting for the extensive underground rhizome network.
Pro Tip: Always work with a professional who can accurately assess the full extent of knotweed spread and recommend the most effective barrier placement strategy.
Remember that proper disposal of knotweed material is legally mandated. All excavated plant material must be handled as controlled waste, typically requiring specialized treatment to prevent potential regrowth. By meticulously preparing your site, you significantly reduce the risk of future knotweed propagation and protect your property from potential structural damage.
Step 3: Select and Source the Appropriate Root Barrier
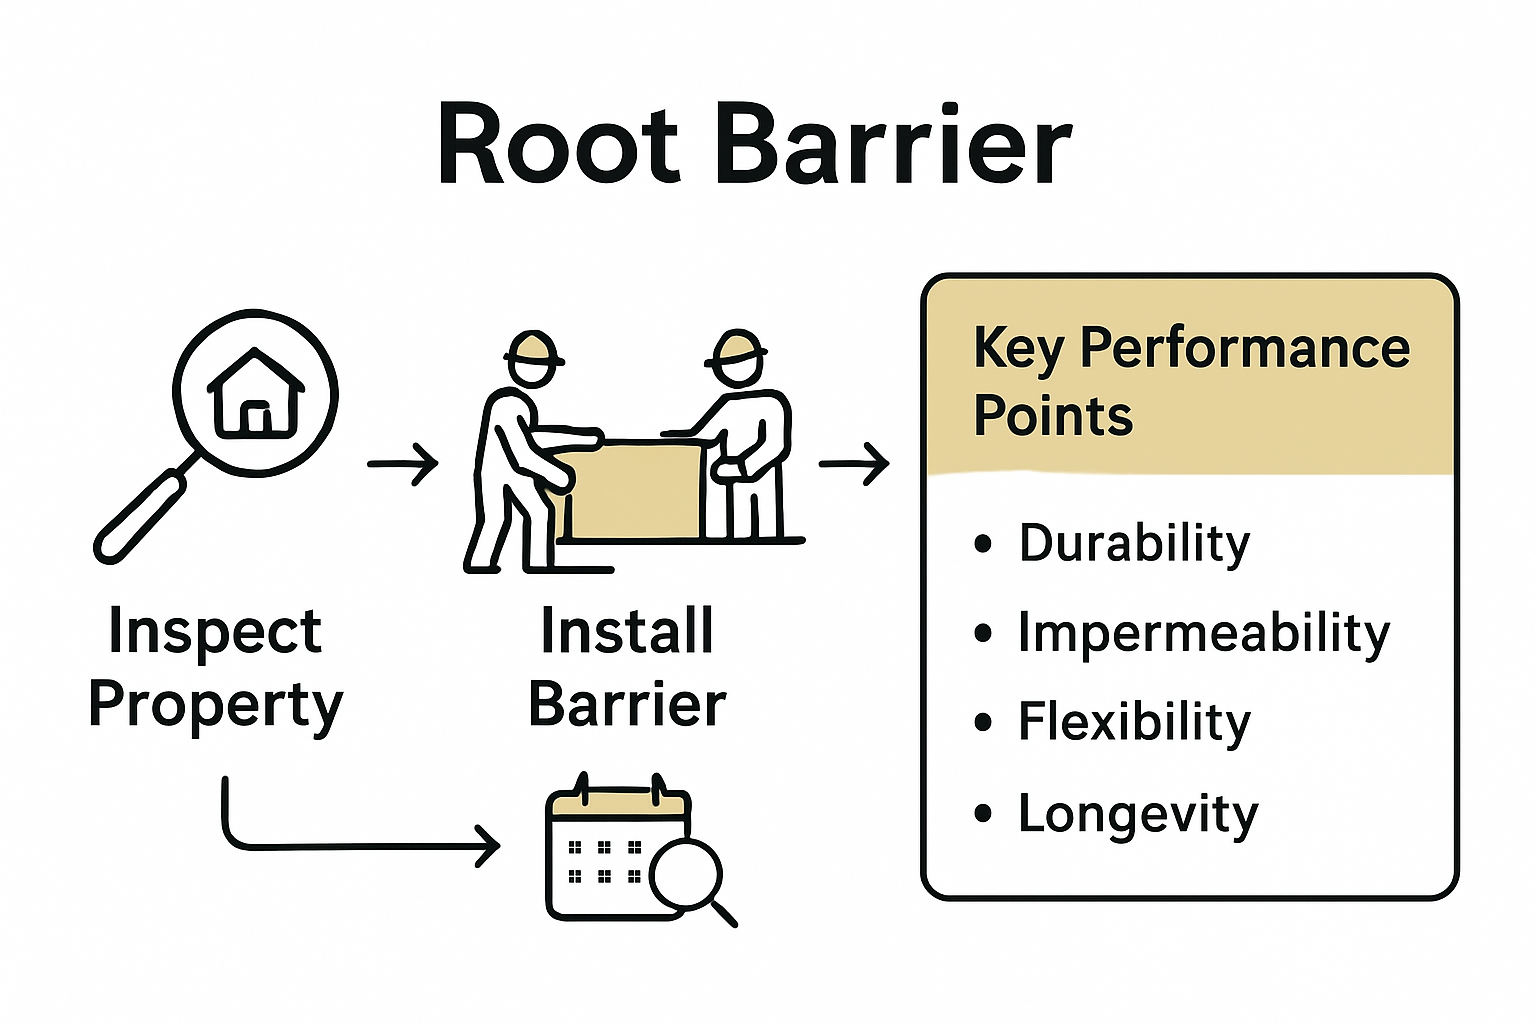
Choosing the right root barrier is critical for effectively containing Japanese knotweed and preventing its destructive spread. UK Government guidance emphasizes selecting barriers with specific performance criteria to ensure long-term containment of underground growth.
When sourcing a root barrier, prioritize materials with high tensile strength and exceptional durability. Look for high-density polyethylene (HDPE) barriers that are at least 1 millimeter thick, capable of withstanding potential rhizome penetration. Ensure the barrier extends a minimum of 3 meters deep and creates a complete seal around the contaminated area. Professional installation is recommended to guarantee proper overlap and sealing of barrier sections, preventing any potential escape routes for knotweed rhizomes.
Pro Tip: Always request certification and testing documentation for your root barrier to verify its effectiveness against Japanese knotweed penetration.
Before finalizing your selection, consult with a knotweed management specialist who can assess your specific site conditions and recommend the most appropriate barrier type. Different soil compositions and topographical features can impact barrier performance, so personalized expert advice is crucial for achieving comprehensive knotweed control.
Step 4: Install the Knotweed Root Barrier Effectively
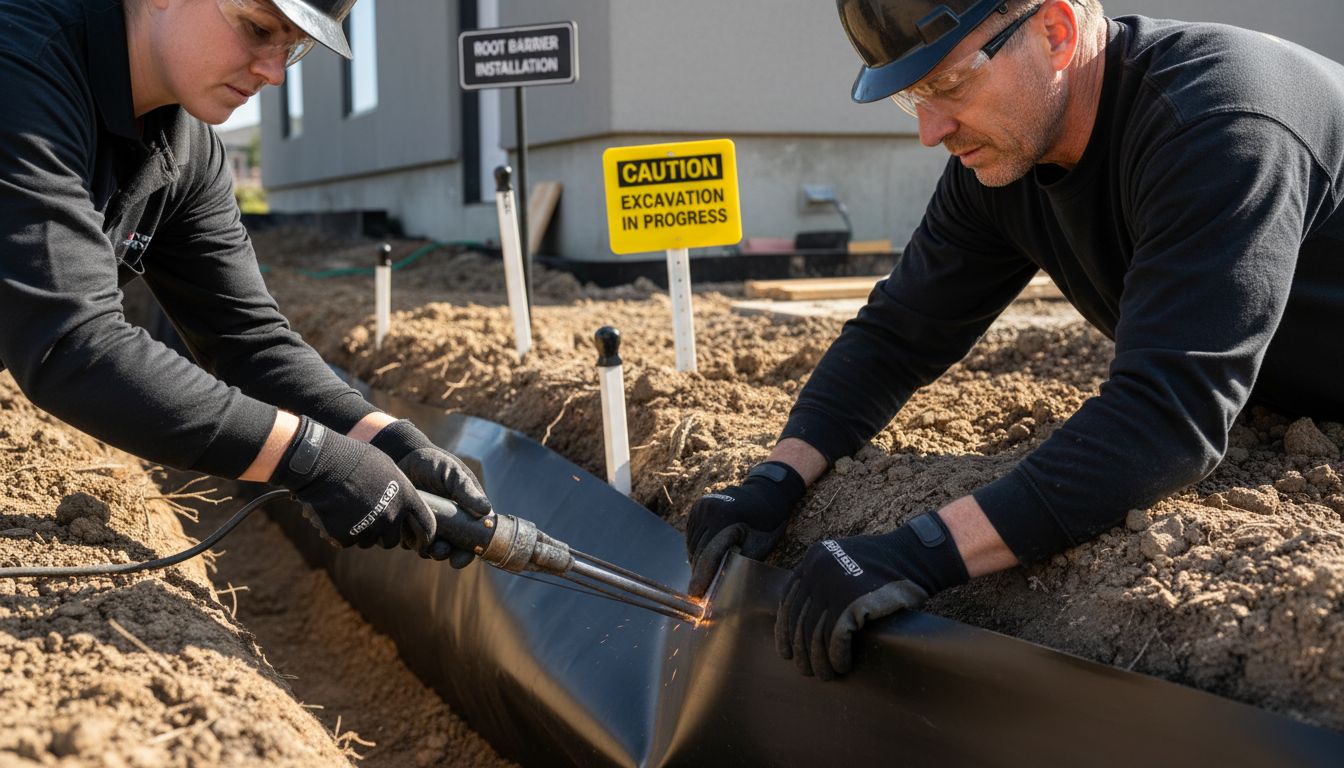
Installing a root barrier requires precision and careful execution to prevent Japanese knotweed from spreading. UK Government guidance provides critical insights into the best practices for creating an impenetrable containment system that stops knotweed growth.
Begin by excavating a trench that extends at least 3 meters deep around the contaminated area, ensuring the sides are smooth and free from sharp objects that could puncture the barrier. Carefully unroll the high-density polyethylene barrier, making sure there are no wrinkles or gaps that could compromise its integrity. Overlap barrier sections by at least 300 millimeters and use specialized welding techniques or approved joining materials to create a continuous seal. When backfilling the trench, use fine soil or sand initially to prevent potential damage to the barrier from rocks or debris.
Pro Tip: Hire a certified knotweed management professional to ensure the root barrier is installed with maximum precision and effectiveness.
After installation, conduct a thorough visual inspection to verify the barrier’s completeness and integrity. Consider installing monitoring points to track any potential future growth and ensure your containment strategy remains successful over time. Remember that proper installation is your first line of defense against the aggressive spread of Japanese knotweed.
Step 5: Verify Barrier Integrity and Ensure Ongoing Protection
After installing your knotweed root barrier, continuous monitoring becomes crucial to maintain its effectiveness. UK Government guidance recommends establishing a systematic inspection schedule to detect and address any potential breaches or regrowth quickly.
Conduct quarterly visual inspections of the entire barrier perimeter, looking for signs of damage such as punctures, soil settling, or vegetation emerging near the barrier edges. Use specialized monitoring points installed during the barrier placement to track underground movement and potential rhizome activity. Document each inspection meticulously, recording the date, condition of the barrier, and any observations that might indicate compromised containment. Digital photographs can provide an excellent record of the barrier’s condition over time, helping you track subtle changes that might go unnoticed during quick visual assessments.
Pro Tip: Consider professional annual inspections by a certified knotweed management specialist to ensure comprehensive monitoring beyond your regular checks.
Remember that ongoing vigilance is your most powerful tool in preventing knotweed spread. Any signs of potential barrier failure or new growth should trigger immediate professional assessment and potential remediation. Your proactive approach will protect your property from the destructive potential of Japanese knotweed.
Secure Your Property Against Japanese Knotweed with Expert Root Barrier Solutions
Japanese knotweed’s underground rhizomes can cause serious and costly damage if not contained properly. This article highlights the critical need for thorough site preparation, precise root barrier installation, and ongoing monitoring to prevent regrowth. If you are facing the challenge of stubborn knotweed or want to protect your investment from structural harm, the root barrier approach described requires expert knowledge and professional execution.
At Japanese Knotweed Agency, we specialize in chemical free eradication and provide high quality root barrier installations tailored to your property’s specific needs. With our pioneering electrical treatment technology and dedicated excavation services, we target the knotweed rhizome network effectively while minimizing environmental impact. Our comprehensive surveys across England, Wales, and Ireland ensure no infestation goes undetected, guiding precise and lasting solutions.
Do not let knotweed spread unchecked. Visit Japanese Knotweed Agency now to arrange a professional survey or ask about our certified root barrier installations. Take control today to protect your property’s value and prevent costly damages tomorrow.
Frequently Asked Questions
How can I assess a property for Japanese knotweed risks?
Identifying knotweed risks involves a thorough visual inspection of the property and its surroundings. Look for bamboo-like stems, especially in disturbed areas like construction sites, and use resources like predictive models for localized risks.
What steps should I take to prepare a site for a knotweed root barrier?
Start by completely clearing the area of all visible knotweed plants and their roots. Ensure you excavate the soil around the plants carefully to eliminate potential rhizome regrowth, and create a clear perimeter extending beyond the visible infested area.
What materials should I look for in a knotweed root barrier?
Choose barriers made from high-density polyethylene (HDPE) that are at least 1 millimeter thick, ensuring they are durable and capable of withstanding rhizome penetration. The barrier should extend at least 3 meters deep into the ground to effectively contain knotweed roots.
How do I properly install a knotweed root barrier?
To install the barrier, excavate a trench that is at least 3 meters deep around the affected area, ensuring smooth sides. Unroll the barrier without wrinkles, overlap sections by 300 millimeters, and use specialized techniques to seal all joints securely before backfilling with fine soil.
How often should I monitor the knotweed root barrier after installation?
Conduct quarterly inspections to check for signs of damage or regrowth around the barrier. Keep detailed records of your findings to quickly address any issues and ensure the barrier continues to perform effectively over time.
When should I consult a professional for knotweed management?
Engage a professional if you observe any signs of barrier compromise or unusual growth patterns near the root barrier. Regular professional assessments, ideally annually, can provide a higher level of monitoring and ensure lasting control against knotweed spread.