TL;DR:
- Proper site assessment, utility marking, and soil analysis are vital for safe, stable residential excavation projects. Skipping these steps can lead to utility strikes, foundation failure, and legal liabilities, costing much more than the initial savings. Investing in expert surveys, drainage planning, and thorough testing ensures long-term stability and safety of the constructed foundation.
Residential excavation goes wrong more often than most homeowners expect. Skipping a single stage of the step by step excavation process can result in collapsed trenches, utility strikes, waterlogged foundations, or costly structural remediation that dwarfs the original project budget. The consequences are not merely inconvenient. They can delay planning sign-off, void insurance cover, and create long-term instability beneath your property. This guide walks you through every stage of a properly managed excavation project, from initial site assessment through to final inspection, so you can approach the work with confidence and avoid the pitfalls that catch unprepared homeowners out.
Table of Contents
Key takeaways
| Point |
Details |
| Assess before you dig |
Commission a registered surveyor and arrange soil testing before any ground is broken. |
| Utility marking is non-negotiable |
Mechanical equipment must never be used within 18–24 inches of marked utility lines. |
| Compaction must meet specification |
Fill material compacted in lifts no greater than 200 mm achieves the density required for safe foundation work. |
| Drainage planning protects foundations |
Improper drainage is one of the leading causes of long-term foundation failure and erosion. |
| Professional sign-off prevents problems |
Structural and geotechnical engineers must verify formation levels before any concrete is placed. |
Site assessment and preparation before excavation begins
No responsible excavation steps guide begins at the machine. It begins weeks earlier, with a thorough site assessment that establishes what lies beneath your land, where your boundaries sit, and what consents you need before a single bucket of soil is moved.
Commissioning a registered surveyor is the logical starting point. A topographic survey establishes accurate ground levels and boundary positions, both of which directly influence excavation design. Without this, contractors are working to assumptions rather than data, and assumptions in excavation are expensive.
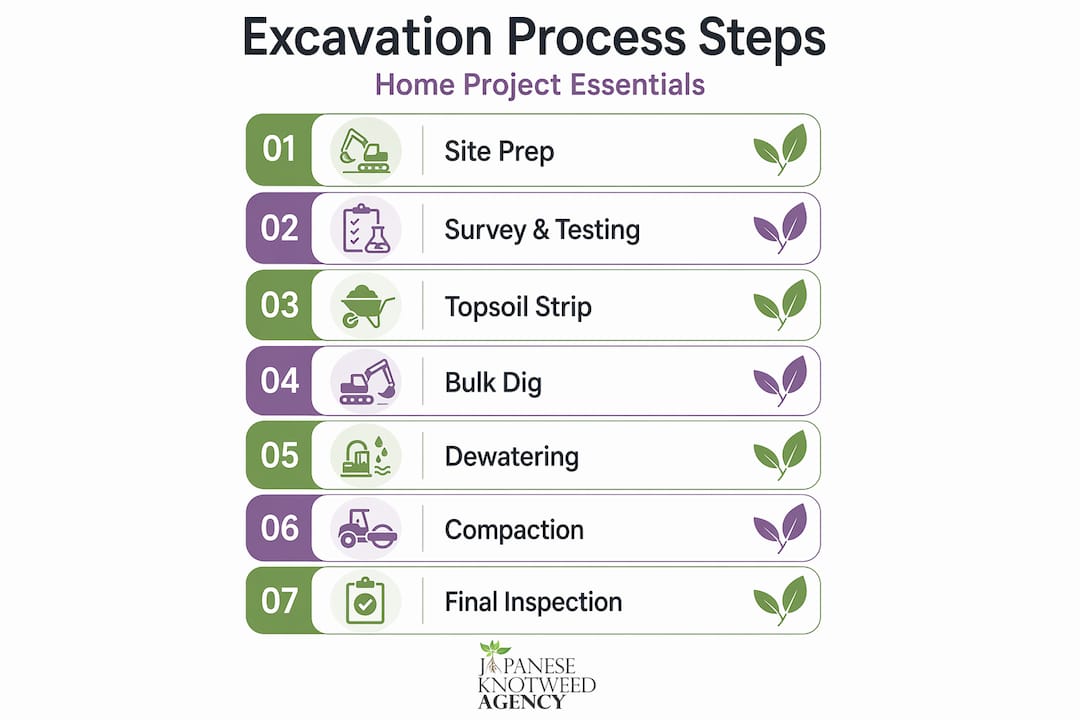
Geotechnical and soil analysis should follow. Soil type governs everything from excavation technique to shoring requirements to compaction method. Clay-rich soils retain water and are prone to heave. Loose granular soils may require sheet piling at depth. A ground investigation report provides the data your structural engineer needs to design a safe excavation.
Key preparation steps before work begins include:
- Locating all underground utilities by contacting your local authority and using a professional cable and pipe detection service
- Obtaining the relevant council approvals, including planning permission where required and, in England, Building Regulations approval for foundations
- Securing environmental consents where the site is near watercourses or contains invasive species such as Japanese Knotweed
- Installing site hoarding, welfare facilities, and temporary erosion controls such as silt fencing along site boundaries
- Briefing the full contractor team on site-specific hazards, including the location of all utility corridors
Pro Tip: Before submitting any planning application, arrange an invasive plant survey for your site. Knotweed or other invasive species discovered mid-excavation can halt works entirely and trigger regulatory obligations that add significant cost.
Skipping comprehensive site assessments leads directly to improper foundation stability and unforeseen utility conflicts. The assessment stage is not an administrative formality. It is the foundation upon which every subsequent excavation decision rests.
Clearing the site and stripping topsoil
With assessments complete and consents in place, the physical work of preparing the ground can begin. Site clearance and topsoil stripping are the first active stages of the excavation process overview, and they must be carried out methodically.
- Remove all above-ground vegetation, including grass, scrub, and garden planting, using appropriate machinery scaled to site size and access constraints.
- Treat any confirmed invasive species, such as Japanese Knotweed, in accordance with current legislation before disturbing the ground. Moving contaminated soil without treatment can spread rhizome material and carries legal risk.
- Carry out stump removal for all trees scheduled for clearance, maintaining buffer zones where tree root systems may affect adjacent structures or boundary walls.
- Demolish any existing surface structures, including sheds, driveways, or concrete slabs, and remove all rubble from site before excavation machinery is positioned.
- Strip topsoil to a minimum depth of 150 to 300 mm, depending on organic content, across the entire excavation footprint. Organic-rich topsoil has no place in a foundation subgrade. It compresses under load and promotes biological decay.
- Stockpile stripped topsoil in a designated, clearly marked area away from the excavation zone. Where topsoil is clean and uncontaminated, it can be retained for later landscaping use rather than removed from site at cost.
The discipline in this stage lies in not rushing. Contractors who strip too quickly or inconsistently leave organic pockets in the subgrade that compromise compaction results later. A clean, homogeneous stripped surface is the correct starting point for bulk excavation.
Bulk excavation and trench excavation
This is the stage most people associate with excavation: the machinery, the soil displacement, and the shaping of the ground to meet structural drawings. A sound stepwise excavation method here requires both the right equipment and strict adherence to safety protocol.
Equipment selection is determined by site access, excavation volume, and soil conditions. A 360-degree tracked excavator suits most residential bulk digs. Where access is restricted, a 13-tonne midi excavator or even a tracked dumper arrangement may be required. Choosing machinery that is too large for site conditions causes unnecessary ground disturbance and access damage.
Key principles governing the bulk and trench excavation phase include:
- Maintaining correct batter slopes on open-faced excavations, typically 1:1 or as specified by the geotechnical engineer, to prevent slope failure
- Installing shoring, trench boxes, or sheet piling for any trench exceeding 1.5 metres in depth, in line with Health and Safety Executive guidance
- Leaving a hand-trim allowance of 50 to 100 mm above the specified formation level to prevent over-excavation. Loose backfill cannot replicate undisturbed native soil density and creates a weak point beneath the slab or foundation
- Cutting utility trenches to the exact widths and depths specified on structural and services drawings, with appropriate bedding allowances for pipe diameter
- Maintaining a mandatory hand-dig buffer zone of 450 to 600 mm either side of all marked utility lines. Mechanical equipment must not enter this zone under any circumstances
Safety note: Trench collapses are among the most serious hazards in construction. Trenches deeper than 5 feet require engineered protection as a legal obligation, not a recommendation. Never allow operatives to enter an unshored trench of this depth.
Collaborative planning among surveyors, engineers, and contractors is what keeps this stage safe and on programme. Ground movement monitoring, particularly for deeper residential basements, should be active throughout.
Dewatering, compaction, and subgrade preparation
Once bulk excavation reaches formation level, attention turns to water management and ground preparation. These stages are frequently underestimated by homeowners managing their own excavation project planning, yet they are what separates a durable foundation from one that will move and crack within a decade.
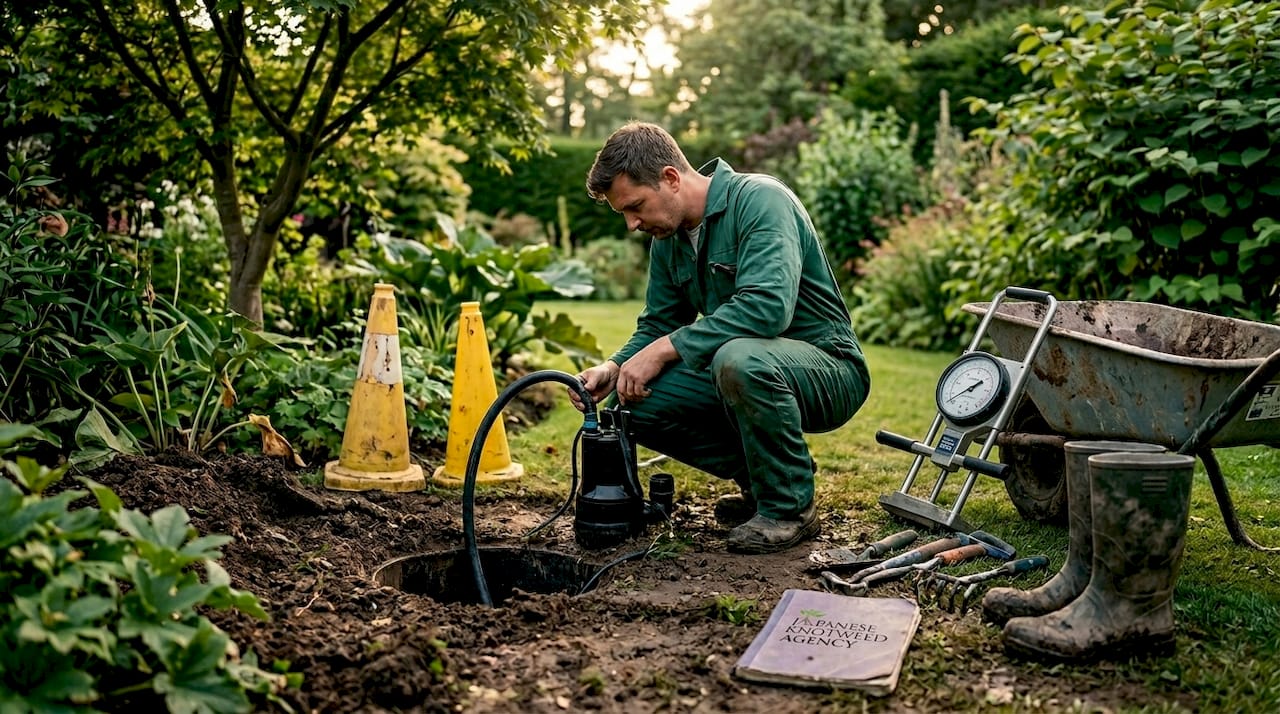
Standing or seeping groundwater must be removed before compaction begins. Submersible pumps positioned in a sump pit at the lowest point of the excavation are the standard approach. Where groundwater ingress is continuous, a wellpoint dewatering system around the excavation perimeter may be necessary. Attempting to compact saturated soil produces no meaningful improvement in bearing capacity.
| Stage |
Method |
Acceptance standard |
| Dewatering |
Sump pumping or wellpoint system |
Formation level free-draining before compaction |
| Compaction |
Vibrating roller or plate compactor in 200 mm lifts |
95 to 98% Proctor dry density |
| Testing |
Nuclear density gauge or dynamic cone penetrometer |
Test results recorded and passed to engineer |
| Sub-base |
Granular type 1 MOT stone laid and compacted |
Minimum 150 mm depth, tested and approved |
| Blinding |
50 mm lean mix concrete |
Level, continuous, and cured before reinforcement |
Fill material must be compacted in lifts no greater than 200 mm, with compaction testing carried out at each lift before the next is placed. This is not optional. It is the only way to verify that your subgrade is performing to specification.
Pro Tip: Request a copy of every compaction test result from your contractor. These records are part of your building file and may be required by your structural engineer, building inspector, or future mortgage lender when assessing the property.
Final inspection and verifying readiness
The final stage of the excavation steps guide is verification. Before any concrete, reinforcement, or pipe bedding is placed, a structured inspection must confirm that the excavation meets the dimensions, levels, and compaction standards specified in the design.
The roles involved in this sign-off typically include:
- The structural engineer, who checks formation levels, trench widths, and bearing capacity against design assumptions
- The geotechnical engineer or specialist, where ground conditions were complex or varied from the original investigation
- The building control inspector, who must formally approve the excavation before foundations are poured under Building Regulations
Common problems identified at this stage include over-excavation of trench bases, inadequate compaction results, and standing water that was not fully removed before testing. Each of these has a remediation route, but catching them at inspection costs far less than discovering them after concrete has been placed.
Water damage from improper drainage is described by structural engineers as a slow and silent threat. Drainage must be actively designed to divert surface and groundwater away from the foundation zone, not managed reactively once problems appear. Effective grading during excavation is one of the most frequently overlooked details, yet it is what keeps water away from your foundations for the life of the structure.
The inspection stage also provides the opportunity to confirm that all utility trenches have been backfilled in 200 to 300 mm lifts with compaction at every stage. Failure here leads to settlement, pipe separation, and surface cracking that can take years to manifest but is costly to remedy.
My perspective on residential excavation
What I have observed, working alongside surveyors and contractors on residential excavation projects across England and Wales, is that the vast majority of problems are entirely preventable. They are not caused by bad contractors or poor ground conditions. They are caused by homeowners and developers who underestimate the importance of the preparation stages and move too quickly toward the visible, tangible work.
In my experience, the utility survey and the soil investigation are the two stages most commonly skipped or reduced in scope when budgets are under pressure. This is precisely backwards. These are the stages that determine everything downstream. Discovering an uncharted gas main at 1.2 metres depth during bulk excavation is not a minor inconvenience. It can halt the project for weeks.
I have also seen drainage planning treated as an afterthought. Grading is designed on paper and then not verified on site as excavation progresses. Water finds its way into every unintended void, and a foundation sitting in intermittently saturated ground will move. The cost of correcting that movement, whether through underpinning or remedial drainage, is always far greater than the cost of getting it right during excavation.
What I tell every homeowner I work with is this: invest in the survey, follow the process, and do not make concessions on compaction testing or drainage design. The savings from cutting those corners are illusory.
— Alan
How Japaneseknotweedagency supports your excavation project
Excavation on residential land in England and Wales carries one risk that a standard structural survey will not identify: the presence of Japanese Knotweed or other invasive species within the excavation zone. Moving contaminated soil without specialist assessment and treatment is a legal and financial liability that can affect your ability to sell or mortgage the property.

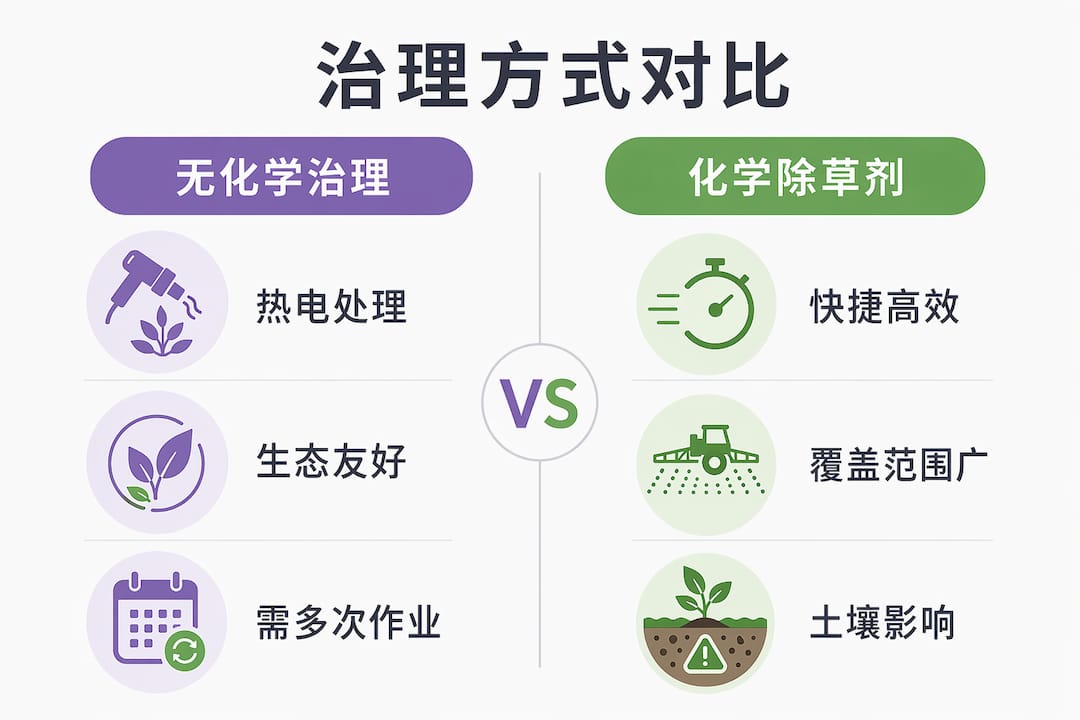
Japaneseknotweedagency provides professional property surveys for invasive weeds across England, Wales, and Ireland, carried out before excavation begins to identify and manage any contamination risk. Where knotweed is present, Japaneseknotweedagency’s chemical-free knotweed solutions achieve a 95% success rate using thermo-electric treatment, root barrier installation, and controlled excavation, without the environmental risks associated with herbicide-based approaches. You can also book a survey to protect your project before groundworks commence.
FAQ
What is the first step in a residential excavation project?
The first step is a thorough site assessment, including a topographic survey, geotechnical soil investigation, and underground utility mapping. Starting without this information significantly increases the risk of utility strikes and foundation instability.
How deep must a trench be before shoring is legally required?
Any trench exceeding 1.5 metres in depth in the UK requires protective measures such as shoring, sloping, or a trench box. Under Health and Safety Executive guidance, this is a legal obligation for all construction sites.
What compaction standard should excavated fill meet?
Fill material should achieve 95 to 98% Proctor dry density, compacted in lifts no greater than 200 mm and verified by a nuclear density gauge or dynamic cone penetrometer before each subsequent lift is placed.
Can I excavate near utility lines with machinery?
No. Mechanical excavation equipment must not be used within 18 to 24 inches of any marked utility line. This zone must be excavated by hand to prevent accidental damage to gas, water, or electrical services.
Does Japanese Knotweed affect residential excavation projects?
Yes. Knotweed rhizomes can extend up to 3 metres in depth and 7 metres horizontally from the visible plant. Disturbing the root system without specialist management spreads the plant and can create legal liability. A professional invasive species survey should be carried out before any knotweed excavation works begin.
Recommended