TL;DR:
- Japanese Knotweed’s underground rhizome network can cause severe property damage and legal issues.
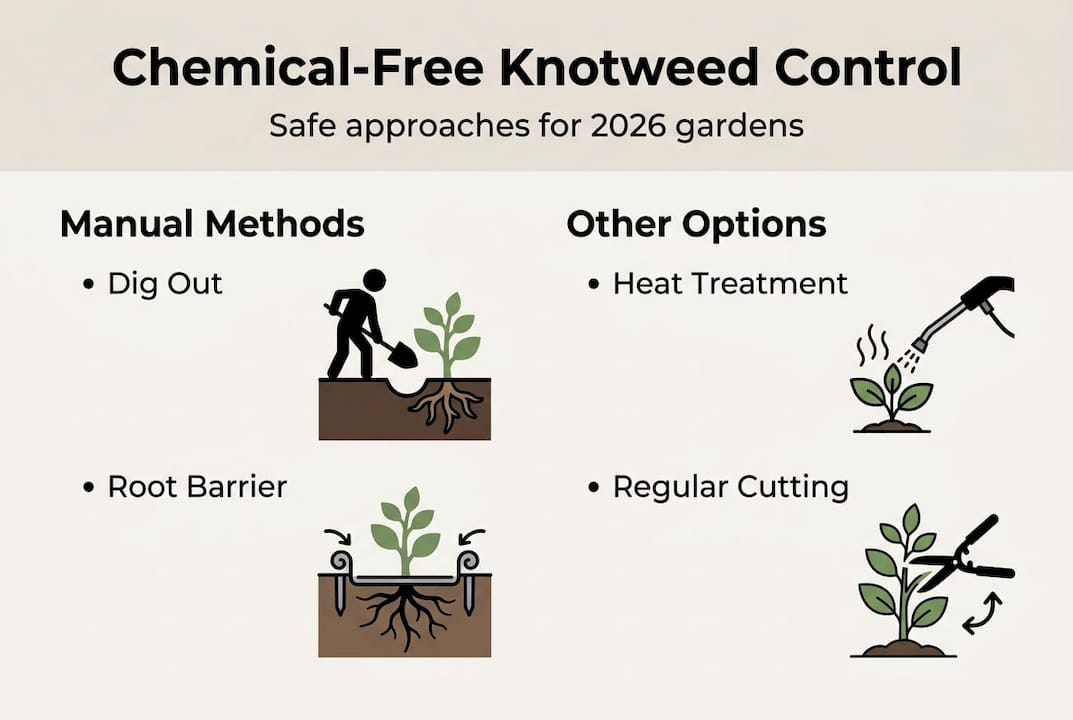
- Chemical-free removal involves physical excavation, barriers, and soil solarisation for safe, effective eradication.
- Ongoing monitoring and professional support are essential to prevent regrowth and ensure full removal.
Japanese Knotweed is one of the most destructive invasive plants affecting properties across England, Wales, and Ireland. It can push through tarmac, crack foundations, and trigger serious legal obligations for homeowners who fail to manage it responsibly. Many people instinctively reach for chemical herbicides, yet growing concerns about health risks, environmental damage, and the safety of children and pets are driving a clear shift. This guide sets out a practical, step-by-step approach to chemical-free treatment that is both effective and environmentally responsible, giving you the confidence to act decisively.
Table of Contents
- Understanding Japanese Knotweed and the dangers of chemicals
- What you need: tools, materials, and preparation
- Step-by-step chemical-free Japanese Knotweed removal
- Verifying results and preventing regrowth
- Why chemical-free methods are the future of weed management
- Get expert help with your chemical-free treatment plan
- Frequently asked questions
Key Takeaways
| Point | Details |
|---|---|
| Chemical-free methods work | You can tackle Japanese Knotweed safely, sustainably, and effectively without harsh chemicals. |
| Preparation is key | Having the right tools and understanding legal obligations ensures your efforts pay off. |
| Document everything | Keep records of treatment steps and monitoring for peace of mind and property sales. |
| Persistence prevents regrowth | Regular checks and rapid response to new shoots give the best long-term results. |
Understanding Japanese Knotweed and the dangers of chemicals
To act confidently, you first need to understand the threat and why chemical-free approaches matter. Japanese Knotweed (Fallopia japonica) is a non-native invasive plant introduced to Britain in the 19th century. Its rhizome network, the underground root system, can extend up to three metres deep and seven metres laterally from the visible stem. Left unchecked, knotweed can undermine property foundations and lead to costly repairs, with remediation bills running into tens of thousands of pounds.
In England and Wales, the Wildlife and Countryside Act 1981 makes it an offence to cause Japanese Knotweed to spread in the wild. In Ireland, the European Communities (Birds and Natural Habitats) Regulations 2011 impose similar obligations. Mortgage lenders increasingly require formal eradication plans before approving loans on affected properties, so the legal and financial stakes are real.
| Risk category | Potential impact |
|---|---|
| Structural damage | Foundation cracking, drainage disruption |
| Legal liability | Fines for allowing spread to neighbouring land |
| Property value | Reduced sale price or mortgage refusal |
| Environmental harm | Loss of native biodiversity |
Chemical herbicides such as glyphosate are widely used, yet they carry documented risks to soil health, waterways, and non-target plant species. The Royal Horticultural Society guidance acknowledges that repeated herbicide application over several growing seasons is typically required, and even then, regrowth is common. There is also a persistent myth that a single treatment, chemical or otherwise, can eradicate Knotweed permanently. It cannot. Effective eradication demands a sustained, structured programme regardless of the method chosen.
“The most dangerous assumption a homeowner can make is that Japanese Knotweed has gone simply because the visible stems have died back. The rhizome network below ground can remain viable for years.”
Understanding the reasons for non-chemical removal is therefore not just about personal preference. It reflects a responsible, evidence-based approach to protecting your property, your neighbours, and the wider environment.
What you need: tools, materials, and preparation
Now you know what you are up against, it is time to get everything in place for a safe and effective start. Proper preparation ensures the effectiveness of any chemical-free weed removal strategy, and cutting corners at this stage invariably leads to regrowth and wasted effort.
Here is what you will need before you begin:
- Spades and forks with long handles for deep digging
- Heavy-duty root barriers (minimum 3mm thickness) for boundary protection
- Thick polythene sheeting or tarps for solarisation and covering cut material
- Puncture-resistant gloves and protective clothing covering all skin
- Sealed heavy-duty bags for waste material
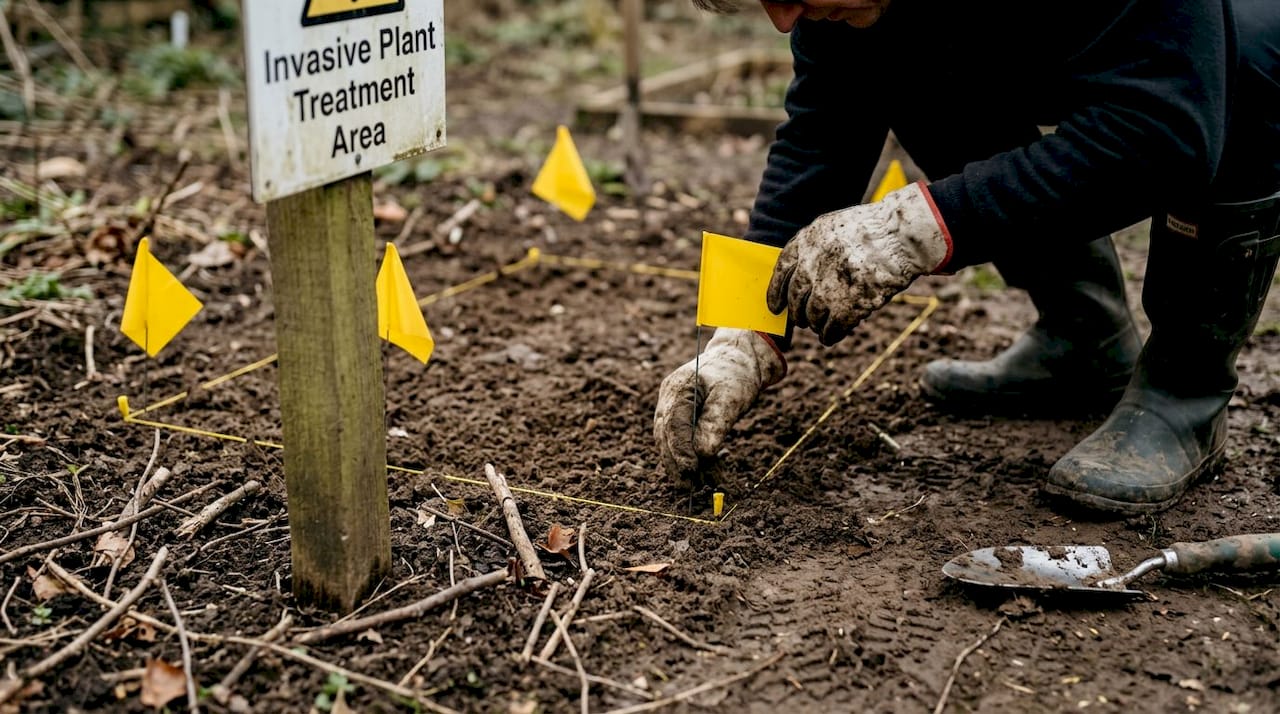
- Site markers to define the treatment zone clearly
| Item | Essential | Useful but optional |
|---|---|---|
| Root barrier (3mm+) | Yes | |
| Heavy-duty gloves | Yes | |
| Sealed waste bags | Yes | |
| Polythene sheeting | Yes | |
| Soil moisture metre | Yes | |
| GPS site markers | Yes |
Preparation also means isolating the affected area. Clearly mark the perimeter of the infestation and avoid walking through it unnecessarily, as even small fragments of rhizome carried on boots or tools can establish new colonies elsewhere. The government guidance on preparation is explicit: all equipment must be thoroughly cleaned before leaving the site.
Never place cut Knotweed material in your general garden waste or compost. It must be treated as controlled waste. Check with your local authority for approved disposal routes, or arrange licensed collection.
Pro Tip: Photograph the infestation before you start and at each stage of treatment. This documentation is invaluable if you later need to demonstrate an eradication programme to a mortgage lender or solicitor.
If your infestation is near a boundary, speak with your neighbour before starting. Knotweed does not respect property lines, and a coordinated approach between adjoining landowners significantly improves outcomes. Understanding how non-chemical treatments protect homes from long-term structural risk is a strong argument to share with any reluctant neighbours.
Step-by-step chemical-free Japanese Knotweed removal
With your tools ready, follow this process from site preparation to effective, lasting Knotweed elimination. Physical methods such as digging can remove above-ground and underground Knotweed structures, but success depends on thoroughness and consistency across multiple seasons.
Statistic: Japanese Knotweed rhizomes have been recorded at depths exceeding three metres, meaning surface-level removal alone is rarely sufficient for full eradication.
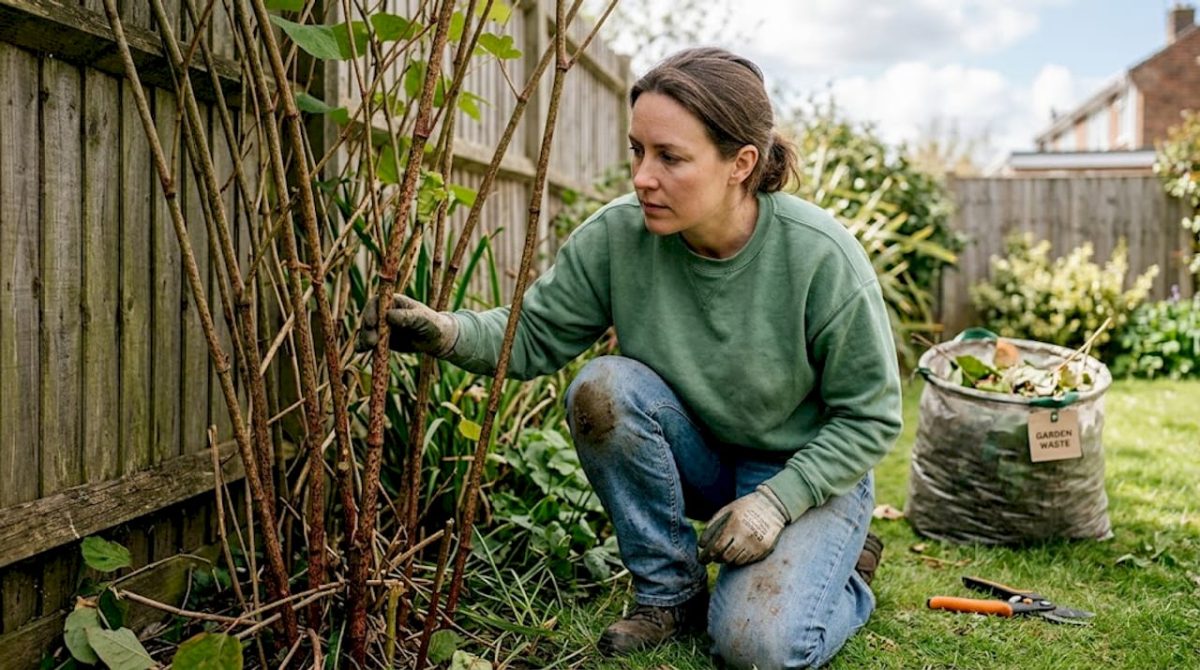
- Cut and remove all above-ground growth. In late spring or early summer, cut stems as close to the ground as possible. Bag all material immediately and seal it.
- Excavate the rhizome network. Dig methodically to a minimum depth of one metre, removing all visible root material. Even a fragment as small as 0.7g can regenerate a new plant.
- Screen excavated soil. Pass all removed soil through a fine-mesh screen to retrieve rhizome fragments before disposal or reuse.
- Install root barriers. For boundary or high-risk areas, install heavy-duty root barriers to prevent lateral spread. This is particularly important near drains, walls, and neighbouring land. Review detailed step-by-step instructions for correct barrier depth and overlap specifications.
- Apply solarisation. Cover the treated area with thick black polythene sheeting, secured at the edges. This raises soil temperature and deprives any remaining rhizome material of light and moisture over several months.
- Monitor and repeat. Check the site every four to six weeks throughout the growing season. Any regrowth must be cut immediately and the area retreated.
- Document every action. Record dates, methods, and observations at each visit. This eradication workflow record supports any future property transaction or legal compliance requirement.
Pro Tip: The most commonly missed step is failing to treat the soil at the edges of the excavation zone. Rhizomes extend well beyond the visible plant, so always treat at least one metre beyond the outermost stem.
For further guidance on species-specific behaviour, invasive species advice provides useful context on rhizome viability and seasonal growth patterns.
Verifying results and preventing regrowth
Completing removal is not the final step; successful eradication means ongoing vigilance. Many homeowners make the mistake of assuming that once visible growth has stopped, the problem is resolved. The rhizome network can remain dormant for extended periods before re-emerging, particularly after soil disturbance.
Signs that treatment is working include:
- No new stem emergence during the spring growing season
- Reduced rhizome density on follow-up excavation checks
- Neighbouring soil showing no signs of lateral spread
- Consistent absence of growth across two full growing seasons
Signs that regrowth is occurring include:
- Small, red-tinged shoots appearing at or near the original site
- New growth emerging from adjacent soil or through barriers
- Unusual soil movement near previously treated areas
“Continual monitoring is vital to prevent Japanese Knotweed from re-establishing, particularly in the first two years following initial treatment.”
Annual professional surveys are strongly advisable, even after apparent success. A certified surveyor can identify early-stage regrowth that is easy to miss during routine checks. This is especially important if you are planning to sell your property, as property transaction implications can be significant without documented evidence of an ongoing management plan.
If you encounter persistent regrowth despite thorough physical removal, or if the infestation is near structures, drainage systems, or a shared boundary, seek professional assessment without delay. Reviewing removal best practices with a qualified specialist can save considerable time and expense in the long run.
Why chemical-free methods are the future of weed management
Looking at the broader picture, it is clear that attitudes towards Knotweed management are changing in a meaningful and lasting way. UK councils, mortgage lenders, and environmental regulators are increasingly aligning their requirements with sustainable, non-toxic approaches. Non-chemical interventions align with the latest environmental standards, and this is no longer a niche preference but an emerging baseline expectation.
The older assumption that herbicides are the only reliable solution is being challenged by the evidence. Thermo-electric treatment, physical excavation, and root barrier installation are demonstrating consistent results without the collateral damage to soil ecology, waterways, and biodiversity that chemical programmes can cause. The benefits of chemical-free weed control extend well beyond the individual property, contributing to healthier local ecosystems and reduced chemical load in the wider environment.
For homeowners, the practical advantages are equally compelling. Chemical-free methods generate documentation that satisfies lenders and solicitors, carry no risk of chemical trespass onto neighbouring land, and are safe for children, pets, and wildlife from day one. This is not simply an environmental statement. It is sound, future-proof property management.
Get expert help with your chemical-free treatment plan
For those seeking guaranteed results or formal eradication proof, professional support is available. Japanese Knotweed Agency specialises in precisely this: delivering innovative, chemical-free eradication using thermo-electric treatment that delivers up to 5,000 volts directly into the rhizome network, causing internal cell damage and depleting energy reserves with each application.
Whether you need a formal management plan for a mortgage application, a property survey, root barrier installation, or full excavation, the agency provides a step-by-step treatment process tailored to your site. Explore chemical-free plant solutions designed specifically for homeowners, or visit the expert FAQs for immediate guidance. Contact the team today to discuss your situation with a specialist.
Frequently asked questions
How long does chemical-free Japanese Knotweed treatment take?
Most chemical-free methods take at least one full growing season and may require repeated action for complete success. Treatment timelines vary depending on infestation size and the methods applied.
Is it legal to remove Japanese Knotweed myself in the UK or Ireland?
Yes, but strict disposal and site management regulations apply; always check government guidelines before starting to ensure full legal compliance.
What is the safest way to dispose of Knotweed without chemicals?
Never compost Knotweed; bag all material and use approved landfill facilities or, where relevant, burn with permission. The RHS advice recommends using licensed disposal facilities at all times.
Can root barriers really prevent regrowth?
Yes, root barriers are proven to block rhizomes and are widely recommended in chemical-free strategies. Root barrier installation is particularly effective for boundary infestations and areas adjacent to structures.
When should I call in a professional?
If you see regrowth, face mortgage delays, or struggle with full removal, a certified expert is highly advised. Professional assessment is vital for difficult or repeated infestations where DIY methods have reached their limits.