
Spotting an unfamiliar plant creeping near your Bristol patio or London garden border can quickly raise concern for any homeowner. Japanese Knotweed is notorious across England and Wales for threatening property sales, mortgages, and even structural safety. This guide lays out a clear, step-by-step approach built around systematic weed assessment and safe, chemical-free treatments, giving you confidence as you protect your home and investment at every stage.
Table of Contents
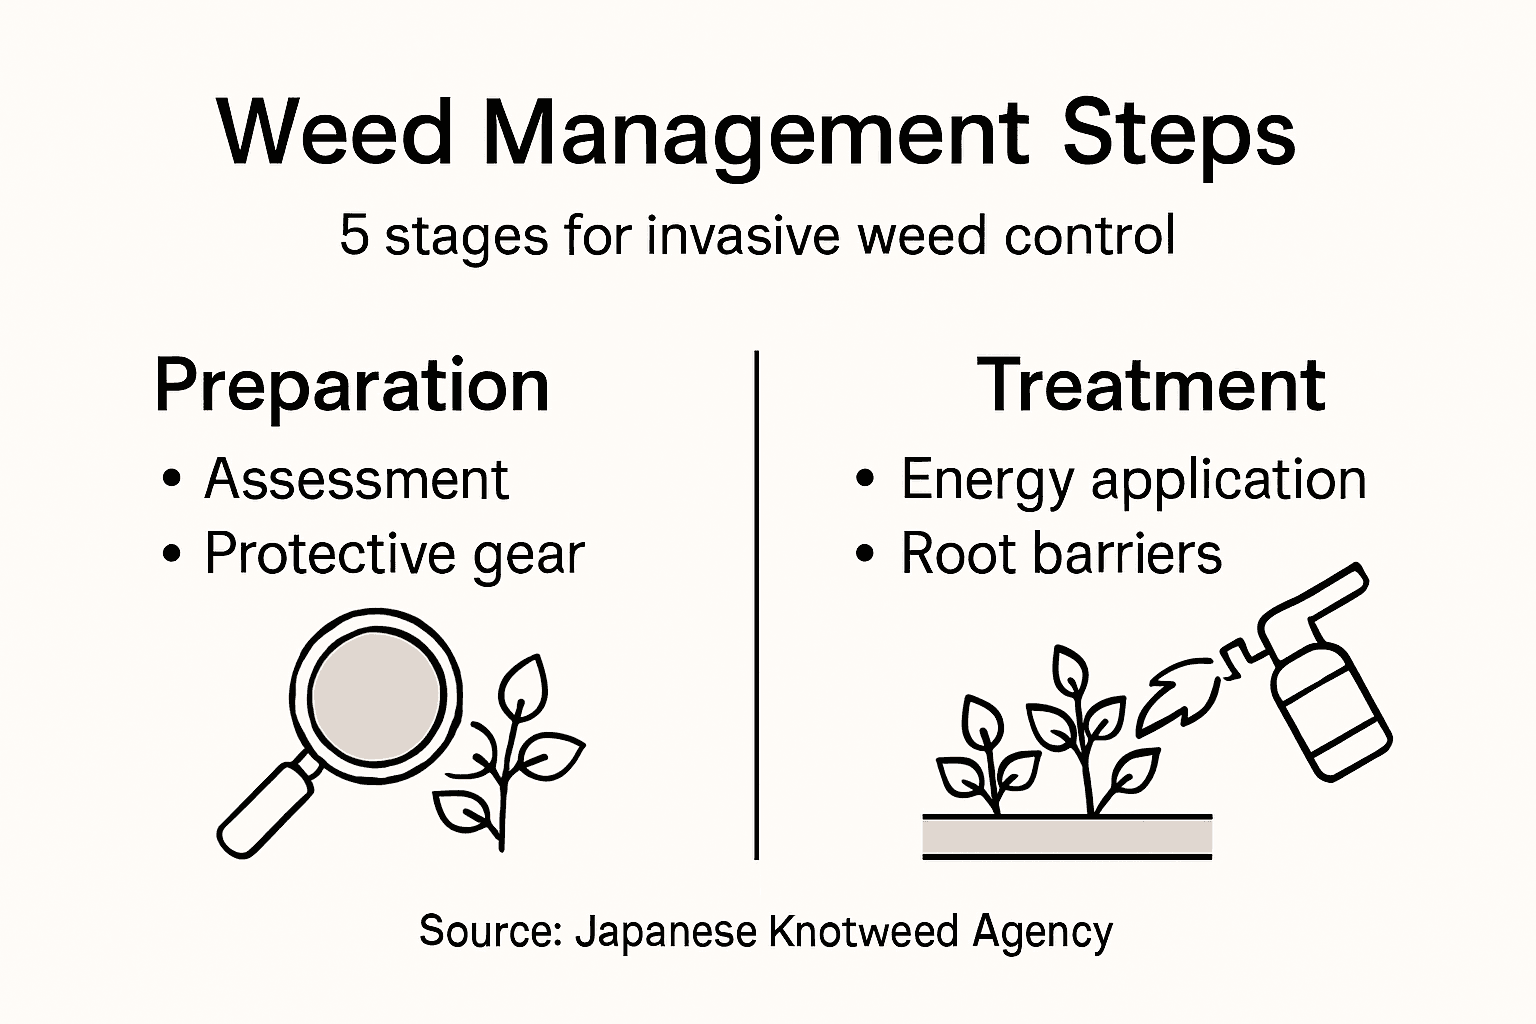
- Step 1: Assess Invasive Weed Presence Thoroughly
- Step 2: Prepare Property For Specialist Treatment
- Step 3: Deliver Direct Energy Treatment Safely
- Step 4: Install Root Barriers To Prevent Regrowth
- Step 5: Verify Eradication And Monitor Results
Quick Summary
| Key Insight | Explanation |
|---|---|
| 1. Early detection is essential | Conduct a thorough visual inspection to identify invasive weeds before they cause damage to your property. |
| 2. Prepare for specialist intervention | Clear the treatment area and mark desirable plants to facilitate effective and safe treatment by professionals. |
| 3. Use direct energy for effective elimination | Employ controlled electrical pulses to target invasive plants, minimising damage to surrounding vegetation. |
| 4. Install physical barriers to stop regrowth | Implement root barriers to prevent rhizome spread and reduce the risk of future infestations successfully. |
| 5. Consistent monitoring ensures success | Conduct follow-up inspections to verify eradication, tracking any signs of regrowth over a 12-24 month period. |
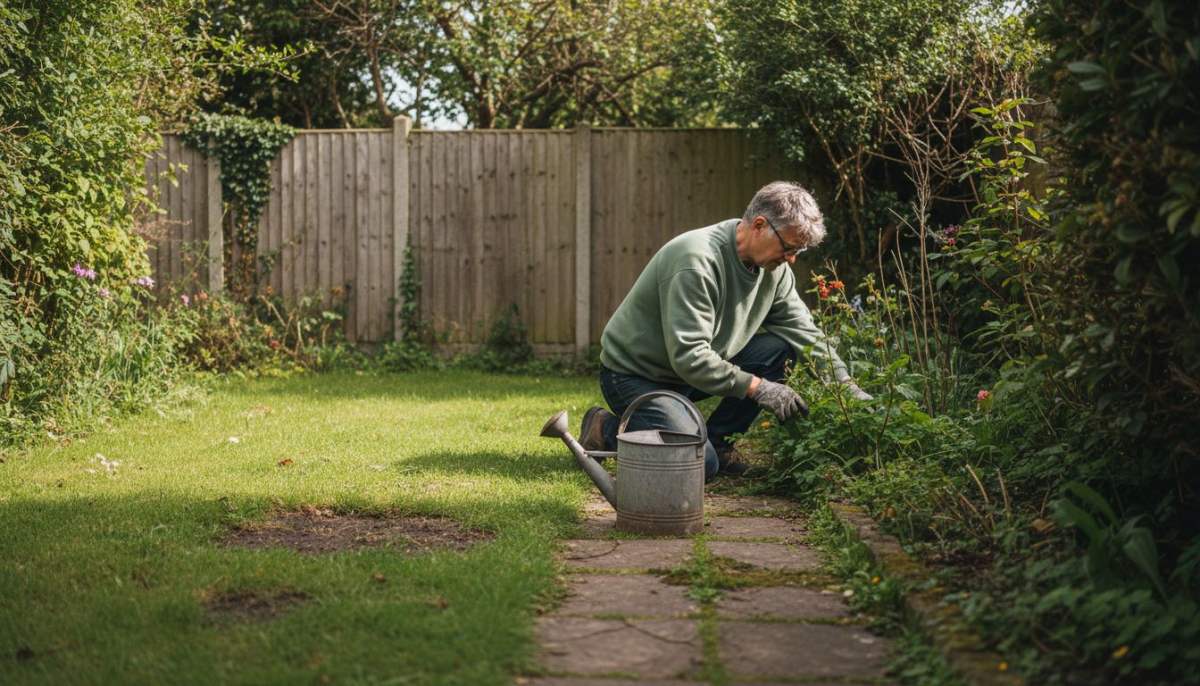
Step 1: Assess invasive weed presence thoroughly
Identifying invasive weeds early is crucial for effective property management and preventing potential structural damage. During this assessment phase, you will systematically examine your property to detect any potentially problematic plant species that could compromise your home’s integrity.
To thoroughly assess invasive weed presence, start by conducting a comprehensive visual inspection of your entire property. This involves carefully examining both landscaped and undeveloped areas, paying special attention to foundation edges, garden borders, and any neglected zones where invasive plants might establish themselves. Systematic survey techniques recommend the following detailed approach:
- Walk the entire property perimeter, looking for unusual plant growth
- Check areas with disturbed soil or recent landscaping work
- Inspect gaps in paving, wall bases, and drainage areas
- Look for plants with distinctive characteristics like rapid spreading or unusual root structures
Documenting your findings is essential. Create a detailed map or sketch of your property, marking specific locations where potential invasive species are spotted. Take clear photographs from multiple angles, ensuring you capture distinctive features that can help with later identification. Consider using a measurement reference point in your photos to provide scale and precise location tracking.
Careful and systematic documentation can be the difference between early intervention and costly remediation.
Pro tip: Consider consulting a professional invasive plant surveyor if you notice any plants with unusual growth patterns or suspect you might have a serious infestation.
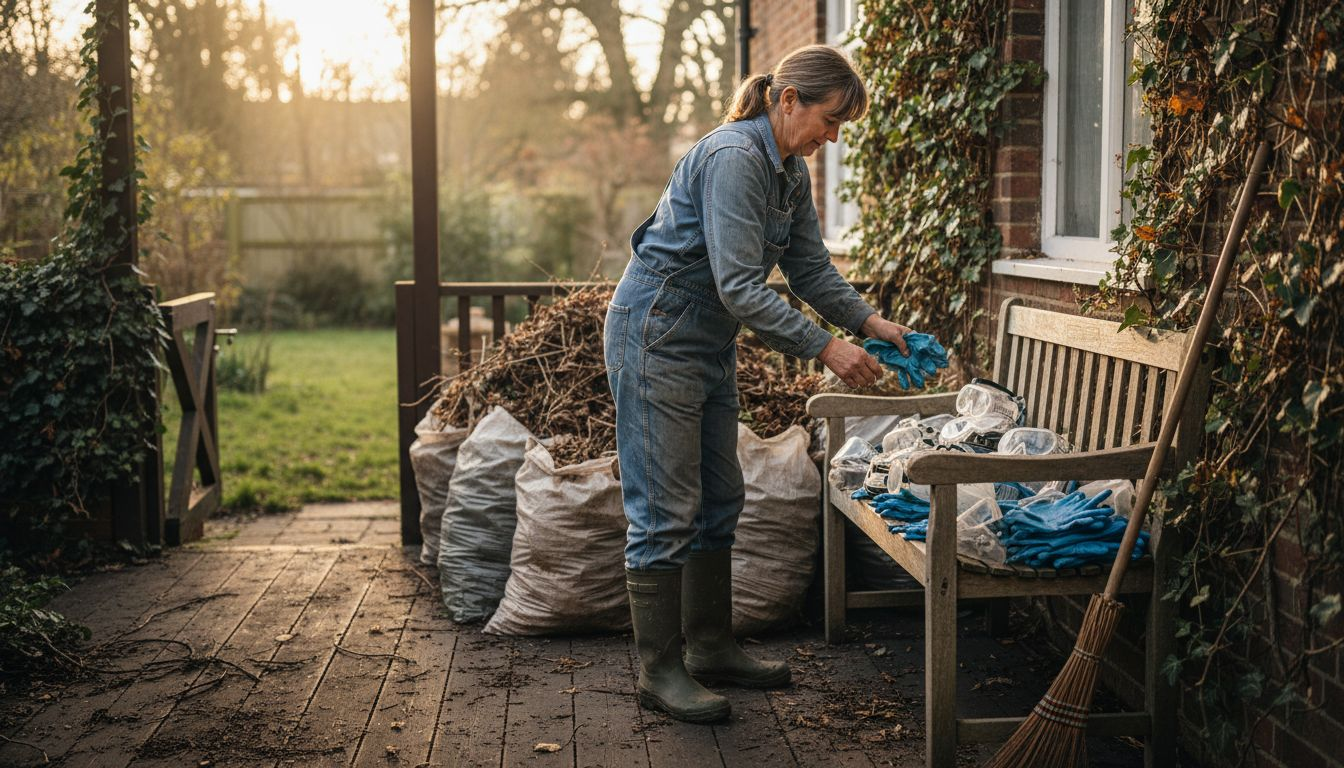
Step 2: Prepare property for specialist treatment
Preparing your property for specialist invasive weed treatment involves creating an optimal environment for targeted intervention and minimising potential risks to surrounding vegetation. This critical stage ensures that treatment professionals can access and address the invasive plant problem effectively.
Integrated weed management strategies recommend several key preparation steps to facilitate a successful treatment process:
- Clear all debris and unnecessary objects from the treatment area
- Mark and protect desirable plants or landscaping features
- Ensure clear access paths for treatment personnel
- Remove any loose items that might interfere with specialist equipment
- Create a temporary exclusion zone around the treatment site
Your preparation should also involve communication with the treatment specialists. Provide them with a detailed property map, highlight specific problem areas, and discuss any potential access challenges. Advance planning reduces treatment time and increases overall effectiveness.
Proper site preparation can significantly improve treatment outcomes and reduce potential property damage.
Additionally, consider protective measures for yourself and others. If the treatment involves potentially hazardous procedures, ensure that family members, pets, and neighbours are informed and can maintain a safe distance during the intervention.
Pro tip: Take photographs of the affected areas before treatment to document the initial condition and assist with post-treatment comparison.
Step 3: Deliver direct energy treatment safely
Delivering direct energy treatment for invasive weeds requires precision, expertise, and strict adherence to safety protocols. This critical stage involves using targeted electrical energy to eliminate invasive plant species without causing widespread environmental damage.
Invasive species control techniques emphasise the importance of professional handling and specific operational procedures. The treatment process involves several key steps:
- Confirm precise location of invasive plant clusters
- Set up protective perimeter around treatment zone
- Calibrate specialist electrical treatment equipment
- Implement targeted energy delivery at specified voltage
- Monitor plant cellular response during treatment
The direct energy approach requires delivering controlled electrical pulses directly into the plant’s root system. These pulses are designed to disrupt the plant’s internal cellular structure, effectively destroying its ability to regenerate and spread. Professionals typically use specialised equipment capable of delivering up to 5000 volts with microscopic precision.
Precise energy application can eliminate invasive species without harming surrounding vegetation or soil ecosystem.
During treatment, it’s crucial to maintain a safe distance and use appropriate personal protective equipment. The electrical energy must be carefully modulated to ensure maximum effectiveness while minimising potential environmental impact.
Pro tip: Always ensure treatment personnel are professionally trained and use calibrated equipment to guarantee safe and effective invasive weed elimination.
Step 4: Install root barriers to prevent regrowth
Root barriers provide a critical defence against invasive weed regrowth, creating a physical underground shield that prevents rhizomes from spreading and reestablishing themselves across your property. By strategically installing these barriers, you can dramatically reduce the risk of future plant reinfestation.
Invasive plant containment techniques recommend precise installation methods to ensure maximum effectiveness. The root barrier installation process involves several crucial steps:
- Select an appropriate high-density polyethylene barrier material
- Excavate a trench to the recommended depth (typically 2-3 metres)
- Ensure barrier extends at least 50 centimetres above ground level
- Create a smooth, continuous barrier without punctures or gaps
- Compact soil carefully around the installed barrier
The underground barrier system works by creating an impenetrable membrane that blocks rhizome expansion. Professional installation requires precision and careful planning, with barriers typically made from specialised materials designed to resist root penetration and degradation.
A properly installed root barrier acts as a permanent underground defence against invasive plant spread.
Before installation, it’s critical to assess the specific invasive species and soil conditions. Different plants require different barrier depths and materials, so professional evaluation ensures the most effective long-term protection for your property.
For quick reference, here’s a comparison of root barrier materials suitable for invasive weed containment:
| Material Type | Durability | Resistance to Root Penetration | Suitable Depth |
|---|---|---|---|
| HDPE (polyethylene) | 20+ years outdoors | Highly resistant | 2-3 metres |
| Metal sheet | 30+ years, rust-prone | Excellent, but heavy | 1-2 metres |
| Geotextile fabric | 10-15 years | Moderate protection | 1-1.5 metres |
Pro tip: Always consult with a specialist who can determine the exact barrier specifications needed for your specific invasive weed challenge.
Step 5: Verify eradication and monitor results
Verifying the complete eradication of invasive weeds is a critical final stage in your management strategy, ensuring that your treatment efforts have been successful and preventing potential future reinfestation. This process requires systematic observation, documentation, and professional assessment to confirm the long-term effectiveness of your intervention.
Invasive species monitoring techniques recommend a comprehensive approach to result verification. The monitoring process should include several key elements:
- Conduct periodic site inspections at regular intervals
- Document any signs of potential plant regrowth
- Photograph and record the treatment area
- Compare current site conditions with pre-treatment documentation
- Track seasonal changes and potential new growth patterns
The verification process involves multiple follow-up assessments, typically spanning 12-24 months after initial treatment. Professional surveyors will look for subtle indicators of potential rhizome survival, including minor vegetation changes, soil disturbances, or microscopic root development that might signal incomplete eradication.
Consistent monitoring is the key to confirming complete invasive weed elimination and preventing future spread.
Maintaining detailed records of each inspection helps create a comprehensive history of the treatment intervention. These documents can be crucial for property sales, mortgage applications, and future land management decisions.
To help clarify how integrated management works across different stages, here’s a summary of each step’s focus and professional involvement:
| Stage | Main Focus | Professional Services Needed | Expected Property Impact |
|---|---|---|---|
| Assessment | Early detection and mapping | Surveyor advice if uncertain | Prevents major damage |
| Preparation | Site readiness for treatment | Specialist guidance recommended | Reduces collateral risks |
| Energy Treatment | Targeted weed elimination | Qualified operators essential | Protects surrounding plants |
| Barrier Installation | Physical containment | Installation by specialists advised | Long-term reinfestation prevention |
| Monitoring | Regular inspections | Periodic surveys strongly suggested | Ensures eradication, supports property value |
Pro tip: Schedule professional follow-up surveys at 3, 6, and 12-month intervals to ensure comprehensive monitoring and early detection of any potential regrowth.
Take Control of Invasive Weed Management with Expert Support
Dealing with invasive weeds like Japanese Knotweed can feel overwhelming as the article shows through each careful step: from thorough assessment to energy treatment and root barrier installation. If you want to prevent costly property damage and regain peace of mind, you need a specialist who understands the complex nature of invasive rhizomes and applies proven, chemical free methods effectively.
Japanese Knotweed Agency are pioneers in delivering direct energy treatment up to 5000 volts to safely destroy invasive plant root systems and stop regrowth. We also provide precise root barrier installation and expert property surveys across England, Wales, and Ireland. Trust us to handle your invasive weed challenge with advanced technology and careful site preparation.

Don’t wait for weeds to spread further and threaten your home’s foundation or value. Contact the Japanese Knotweed Agency today to arrange a detailed invasive weed survey and discuss tailored treatment solutions. Take the first step towards a safer, weed-free property by visiting our website now.
Frequently Asked Questions
How can I assess the presence of invasive weeds on my property?
To assess invasive weed presence, conduct a thorough visual inspection of your entire property, focusing on landscaped and neglected areas. Document your findings by creating a map and taking photographs from various angles to aid in identification.
What steps should I take to prepare my property for invasive weed treatment?
To prepare your property, clear all debris from the treatment area, mark desirable plants, and ensure clear access paths for specialists. Additionally, communicate any specific problem areas on your property to the treatment professionals for more effective intervention.
What is the process for delivering direct energy treatment to invasive weeds?
Delivering direct energy treatment involves pinpointing invasive plant clusters, setting up a protective perimeter, and using specialist equipment to apply controlled electrical pulses to the plants’ root systems. Ensure that treatment personnel are properly trained to minimise environmental impact and maximise effectiveness.
How do I install root barriers to prevent invasive weed regrowth?
To install root barriers, select high-density polyethylene material and excavate a trench that is 2-3 metres deep. Make sure the barrier extends at least 50 centimetres above ground and is installed without any punctures to prevent rhizome spreading.
How can I verify the eradication of invasive weeds on my property?
To verify eradication, conduct periodic inspections over 12-24 months after treatment, documenting any signs of regrowth. Maintain detailed records and photographs to compare the current condition of treated areas with pre-treatment documentation.
When should I schedule follow-up surveys after invasive weed treatment?
Schedule follow-up surveys at 3, 6, and 12-month intervals to ensure comprehensive monitoring for any potential regrowth. Regular inspections help confirm the effectiveness of your treatment strategy and protect your property from future infestations.