Securing Japanese knotweed removal services that satisfy both environmental concerns and mortgage documentation requirements is notoriously difficult across the UK and Ireland. Many providers either do not offer chemical free treatment and full legal support, or they lack transparent pricing and guaranteed records for lenders and conveyancers. This comparison covers treatment methods, accreditation, documented survey options and service guarantees so you can select a knotweed contractor that aligns with your property risk and compliance needs.
Table of Contents
Japanese Knotweed Agency

At a Glance
The vendor advertises delivery of direct energy up to 5000 volts on site to damage rhizome cells and deplete energy within the underground network, allowing chemical free eradication of Japanese Knotweed. The approach pairs surveys, legal support and a national register to back property records.
Core Features
- Professional identification and surveys for Japanese Knotweed and other invasive species across England, Wales and Ireland.
- Thermo electric eradication that targets rhizomes without chemical application, delivered in repeat sessions by trained teams.
- Root barrier installation and excavation for sites where physical separation or removal is required.
- Documented reports and legal assistance to support mortgage and conveyancing processes.
- A national register of infestations to inform property transactions and local management.
Key Differentiator
The agency claims it provides the only UK wide professional electrothermal treatment combined with dedicated legal and survey support, and that claim is backed in their marketing by a national infestation register. That single combination reduces friction for lenders and conveyancers who need documented evidence during sales or remortgages.
Pros
- Uses chemical free thermo electric treatment. That appeals to homeowners who prefer an environmentally minded option and who are restricted by pesticide use in certain locations.
- Provides documented treatment records and a 10 year guarantee that help satisfy lenders and conveyancers when a property has a knotweed history.
- Offers legal and financial support to guide owners through mortgage difficulty and claims related to property value loss.
- Maintains a nationwide register so buyers and professionals can check recorded infestations before a transaction, which lowers the risk of surprise liabilities.
- Combines treatment options and physical works in one provider so survey, excavation and root barrier installation can be coordinated under a single plan.
Cons
- The vendor reports treatment typically requires multiple sessions over a one to three year period, which may not suit owners facing urgent sale or development deadlines.
Who It’s For
Homeowners, land managers and conveyancers in the UK who need documented, lender friendly records alongside a chemical free treatment pathway. Also relevant for local authorities and commercial owners seeking a single supplier for survey, treatment and excavation.
Unique Value Proposition
The documented treatment records plus a long form guarantee change how risk is presented to lenders. For sellers or remortgage applicants this means an auditable paper trail from survey to final clearance, reducing the time spent by conveyancers chasing evidence and potentially smoothing mortgage approval.
Real World Use Case
A homeowner faced mortgage refusal after a boundary infestation books a survey, commissions electrothermal sessions and records the works. The combined survey, legal notes and treatment certificates are lodged with the register and accepted by the lender, allowing the sale or remortgage to proceed.
Pricing
Pricing is bespoke and depends on property size and severity of infestation. The provider usually requires a survey to produce a quote. Book a survey: Book a survey.
Website: https://japaneseknotweedagency.co.uk
Japanese Knotweed Solutions Limited (JKSL)

At a Glance
The vendor advertises a 10-year insured removal guarantee and a proprietary site management system called JK Connect; JKSL reports operating since 2002. Their marketing highlights environmentally minded techniques such as MeshTech alongside full survey to guarantee-backed treatment plans.
Core Features
- Site surveys carried out by specialists who map infestations and produce a written plan.
- Tailored treatment plans for Japanese knotweed and other non native species, including phased works for long term control.
- 10-year insured removal guarantee that the company promotes for qualifying projects.
- JK Connect offers clients real time site updates, treatment records and photographic evidence during works.
- Environmental techniques such as MeshTech and mechanical solutions alongside managed aftercare.
Key Differentiator
What the vendor leans on most is that insured guarantee paired with a client portal for live updates. That combination aims to reduce uncertainty during property transactions and gives a single point of record keeping for developers and surveyors.
Pros
- Longstanding experience since 2002 gives teams a deep institutional knowledge of recurring knotweed patterns and remediation sequencing.
- Insurance backed warranties address mortgage and conveyancing concerns that often stall property sales.
- JK Connect provides transparency; photographic logs and treatment timestamps simplify reporting to solicitors and local authorities.
- The use of MeshTech and mixed-method approaches reduces sole reliance on herbicides and supports sites needing alternative techniques.
- Accredited staff and industry compliance help with planning conditions and developer risk assessments.
Cons
- Publicly available independent user reviews and head to head comparisons are limited, making open benchmarking difficult.
- Pricing is not disclosed on the website and appears project dependent, so early budget estimates require a survey or quote.
- The marketing focus on guarantees and systems relies on vendor claims rather than abundant third party case studies.
When It May Not Fit
If you are managing a tiny DIY plot or seeking a fixed price ticket service without a visit, this approach is not appropriate. Projects that demand immediate transparent pricing online will find the requirement for a site survey and bespoke quoting inconvenient.
Who It’s For
Property owners, developers, local authorities and construction firms that need certified eradication with recordable evidence and long term warranties. Teams involved in conveyancing or site handover will value the insurance backed promise.
Real World Use Case
A developer commissions a site survey, receives a tailored treatment plan and uses JK Connect to show progress to lenders and planners. The insured guarantee and photographic record help clear a planning condition and reduce delays to the construction programme.
Pricing
Pricing is project specific and not published on the website. Quotes require a site assessment and written specification. For an independent survey alternative you can book a survey with Japanese Knotweed Agency at https://japaneseknotweedagency.co.uk/book-a-survey/.
Website: https://jksl.com
Environet UK

At a Glance
Environet UK is an employee-owned firm established in 1996 that reports over 7,500 completed projects and focuses on environmentally friendly removal of invasive plants across residential and commercial sites.
They pair detailed surveys with consultancy and removal work, and advertise zero waste to landfill as part of their service approach.
Core Features
- Expert plant identification for Japanese knotweed, bamboo and other invasive species, used to shape follow up action.
- Tailored management and removal plans for both residential and commercial properties, written from survey findings.
- Thorough surveys that map rhizome extent and inform legal or mortgage-related reports.
- Environmentally focused removal methods and a stated zero waste to landfill policy.
- Online booking for surveys and identification, with typically quick response times.
Key Differentiator
As an employee-owned specialist with industry accreditation, Environet UK emphasises environmentally focused solutions and long tenure in the field. That ownership model appears to influence customer service and staff continuity, while accreditation and insurance backing support work on higher risk property transactions.
Pros
- Environet UK reports high customer ratings on Trustpilot, and reviews often praise responsiveness and perceived effectiveness.
- The projects figure above demonstrates long operational experience since 1996 and a steady caseload of invasive plant jobs.
- Industry accreditation and insurance backing make them a safer choice for properties where lenders or conveyancers require documented competence.
- Environmentally focused removal and zero waste to landfill offer a clear choice for homeowners who prefer non wasteful disposal routes.
- The breadth of services from identification through to management plans and removal simplifies procurement for larger or complex sites.
Cons
- Some clients report initial quotes that are higher than expected and that early estimates lack a detailed scope of work.
- A handful of experiences read as generic rather than tailored, suggesting variability in how thoroughly the initial survey findings are turned into a clear quote.
- Pricing and exact removal procedures are not always spelled out on first contact, which can slow decision making for cost sensitive homeowners.
When It May Not Fit
If you want a fixed price instantly without a site survey, this model will frustrate you; Environet UK requires surveys to tailor quotes and plans.
If your priority is the lowest possible upfront fee rather than accreditation or an environmentally focused disposal route, the quoted costs can feel high compared with budget alternatives.
Who It’s For
Homeowners and property managers who need a specialist, accredited company for Japanese knotweed or bamboo and who value documented surveys, insurance backing and environmentally minded removal.
This is suited to properties involved in sales, remortgage or where a conveyancer or lender has specific certification requirements.
Real World Use Case
A homeowner spots aggressive bamboo spreading along a boundary. They book a survey online, receive a mapped report showing rhizome spread, and are given a tailored management plan with an environmentally focused removal option and advice to prevent recurrence.
Website: https://environetuk.com
Japanese Knotweed Ltd
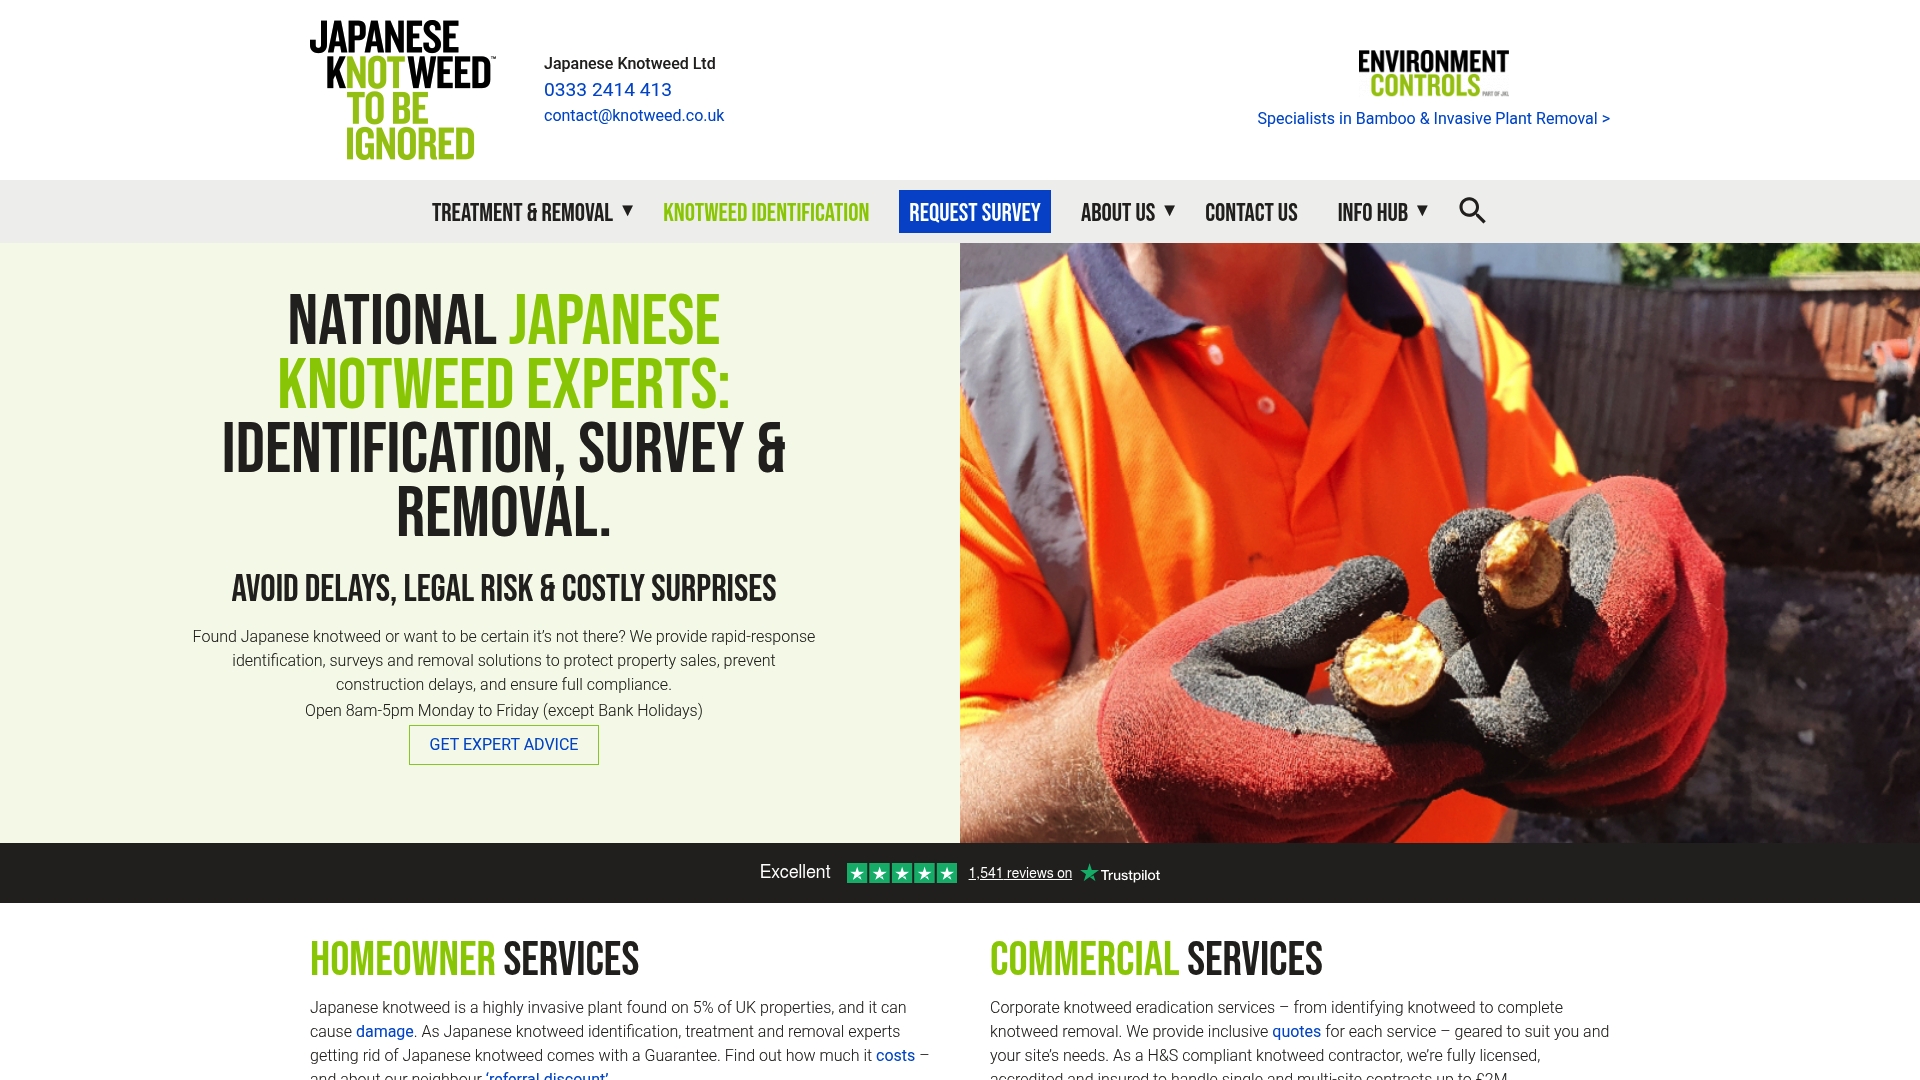
At a Glance
Japanese Knotweed Ltd advertises coverage for projects up to £2 million, and operates from multiple UK bases including London, Southampton and Manchester. That scale positions them for both residential sales support and larger commercial clearances.
They list PCA, BASIS and TrustMark accreditations and offer rapid identification from photos or site visits. The combination of accreditations and multi‑site coverage is the most concrete claim in their materials.
Core Features
- Rapid expert identification by photo or on‑site visit, useful when a survey is needed quickly for a mortgage or sale.
- Comprehensive surveys and written assessments that can be used in conveyancing paperwork.
- Herbicide treatment plans with scheduled visits and options for on‑site excavation and disposal.
- Guarantees intended to support property transactions and legal compliance.
Key Differentiator
Japanese Knotweed Ltd leans on a firm guarantee and national reach as its primary selling point. Their marketing frames that guarantee alongside rapid response, which appeals to sellers and site managers who need documented remediation quickly.
They occupy a different niche to Japaneseknotweedagency. Where Japaneseknotweedagency emphasises chemical free thermo‑electric treatment, this competitor focuses on conventional herbicide programmes and excavation backed by formal guarantees.
Pros
- Highly positive customer feedback is repeatedly referenced in the company literature, highlighting helpfulness and speed from first contact.
- Fast identification and survey turnaround reduces delays in sales or planning timescales.
- Accredited to recognised industry bodies which supports compliance with building and planning processes.
- Coverage for larger projects and commercial work is clear from the materials, which can simplify quoting for developers.
- Guarantee options are structured to assist in property transactions and conveyancing queries.
Cons
- Some reviewers report occasional communication faults such as unanswered calls or slow email replies, which affects customer experience.
- Follow‑up service quality appears mixed in user accounts, with variability in how personable or timely interactions are.
- The service model is not aimed at DIY or minimal‑intervention cases where a light touch would suffice.
When It May Not Fit
If you want a strictly chemical free approach then this company may not match your preference because their core offerings include herbicide plans and excavation.
If your infestation is extremely small and you prefer informal or DIY measures, their guarantees and formal service model will feel disproportionate.
Who It’s For
Homeowners preparing a property for sale, developers needing site clearance, construction firms requiring documented compliance and local authorities managing larger infestations. They suit clients who want a guaranteed, accredited provider rather than an occasional contractor.
Real World Use Case
A homeowner finds knotweed near a boundary and needs a survey for a buyer. Japanese Knotweed Ltd perform a rapid photo assessment, follow with a written survey and deliver a guaranteed herbicide plan. The guarantee helps the sale proceed with the remediation documented.
Pricing
Inspections start at around £240 plus VAT. Treatment plans typically begin from about £1,500 and excavation work from roughly £2,500, scaling up with site complexity and quoted values up to the multi‑million projects they advertise.
Website: https://japaneseknotweed.co.uk
Knotweed Solutions
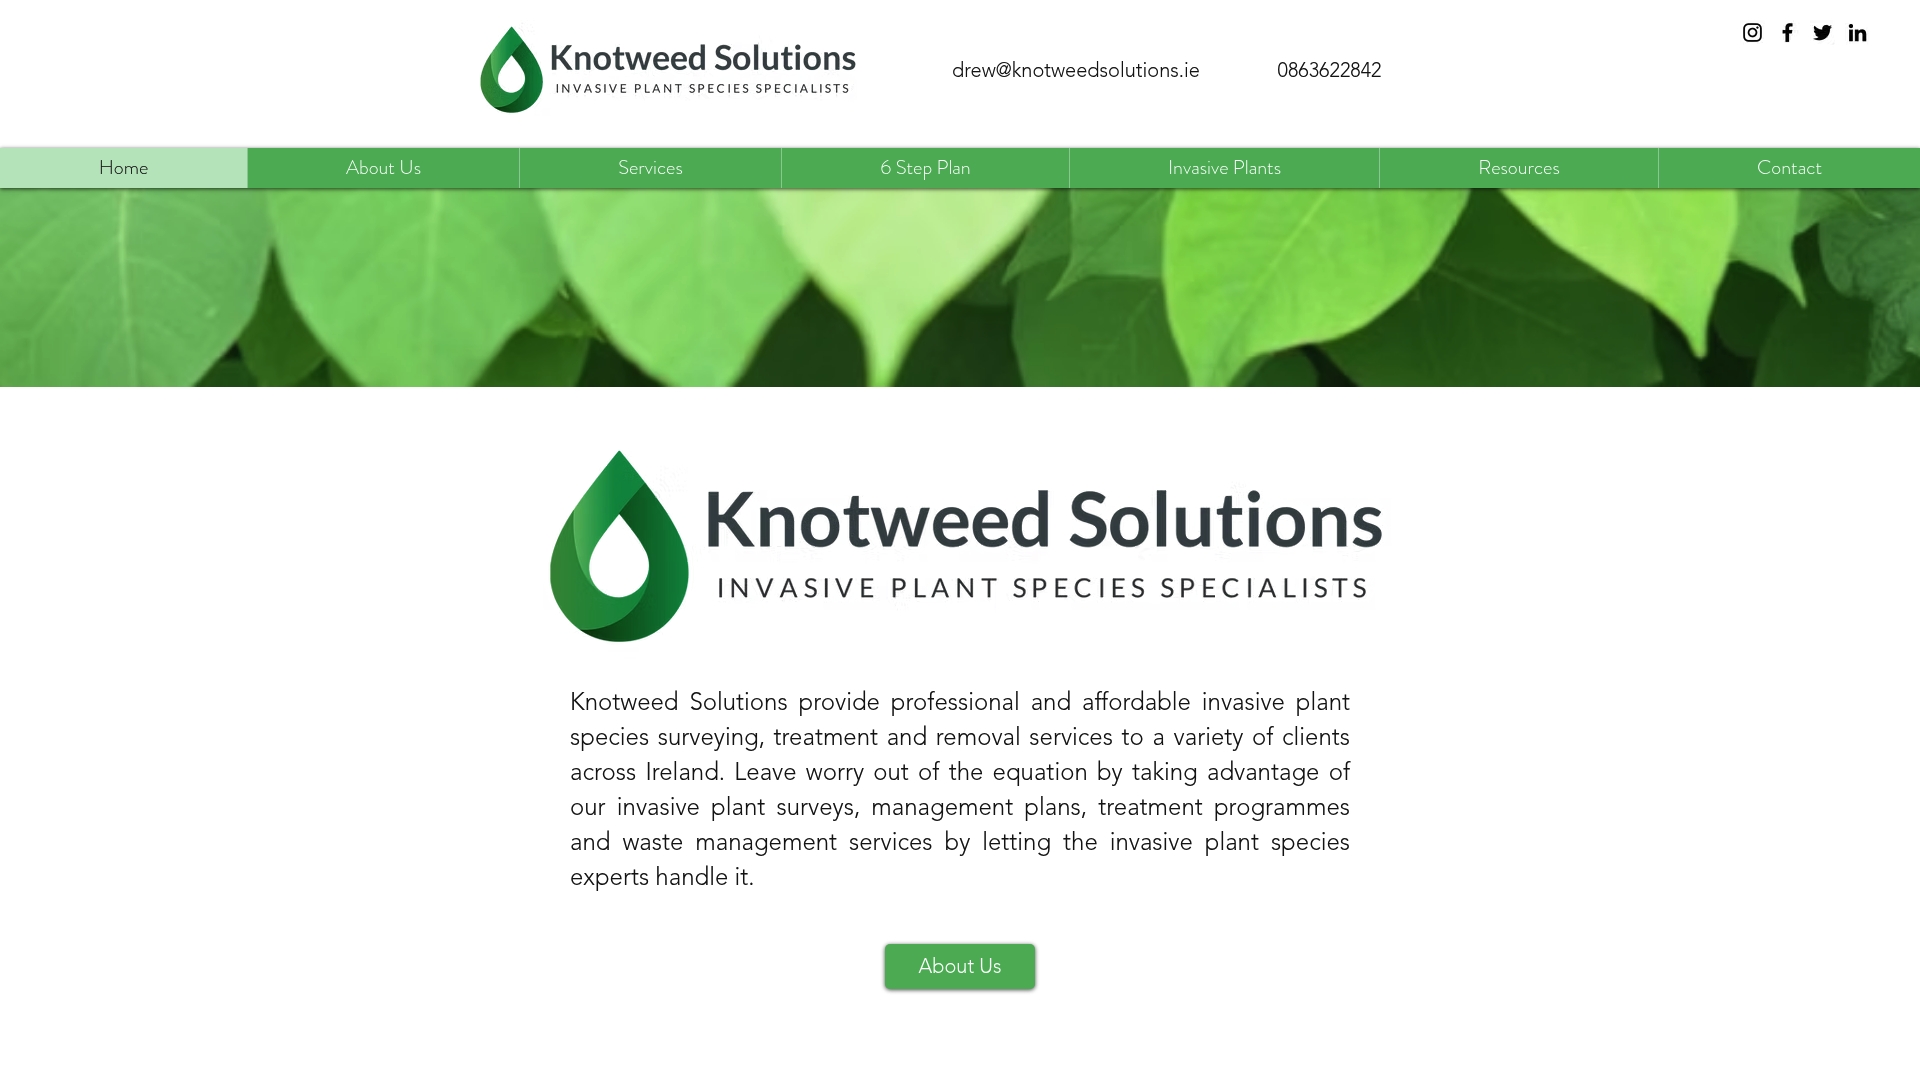
At a Glance
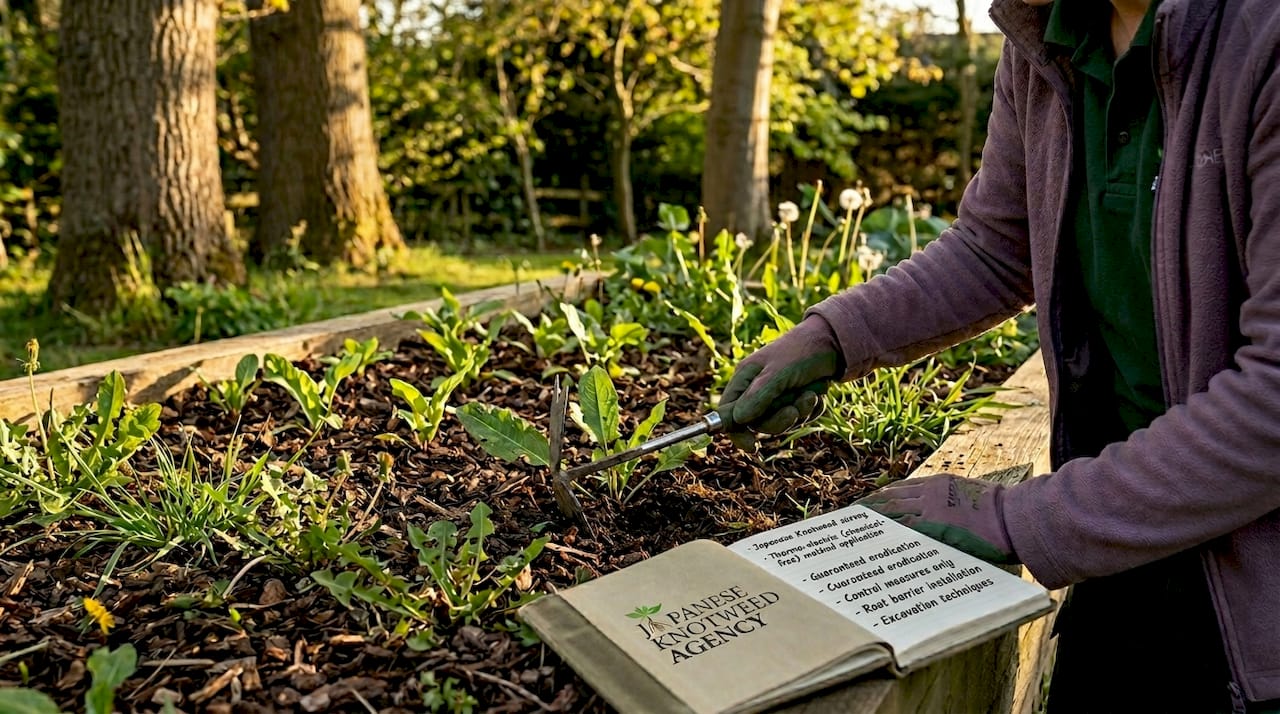
Free initial identification for suspected invasive plants is offered by Knotweed Solutions, a service that removes the first barrier for worried homeowners and site managers in Ireland. The organisation focuses on field surveys, tailored plans and waste management alongside removal work.
The offer of a no-cost photo or sample check is a practical entry point for people unsure whether they actually have Japanese Knotweed. Bookings move into a bespoke management plan when identification is confirmed.
Core Features
Knotweed Solutions carries out invasive plant surveys and identification, producing written reports suitable for lenders or planning applications. They supply management plans tailored to each site, which outline monitoring, treatment timing and ecological precautions.
Their work includes treatment programmes for Japanese Knotweed and other invasive species, plus waste handling and ecological management documentation for developers or local authorities. The free identification service makes the initial contact low friction for homeowners.
Key Differentiator
The clearest distinction is the free first check and a case-specific plan that follows. That approach reduces wasted site visits and gives property owners a clear next step without pressure to commit to costly surveys up front.
For readers comparing providers, note that Japaneseknotweedagency advertises thermo-electric, chemical-free options across Great Britain and Ireland. Knotweed Solutions is narrower in scope geographically and geared to on‑the‑ground survey and planning in Ireland.
Pros
-
Experienced field work across Ireland. The team documents infestations and produces management plans that align with planning and ecological needs.
-
Free identification lowers the barrier for homeowners to get prompt advice and avoids unnecessary charges for a first opinion.
-
Tailored plans help developers and public bodies understand the sequence of control, monitoring and waste disposal required for a clearance or containment project.
-
Handles waste and ecological reporting, which reduces the number of contractors a client must co‑ordinate during a remediation project.
-
Specialist focus on difficult species such as Japanese Knotweed, Giant Hogweed and Himalayan Balsam.
Cons
-
No transparent price list is published on the website, so budget planning requires a direct enquiry and proposed survey.
-
Limited third‑party review data is visible online, which makes it harder to gauge consistent customer experience at scale.
-
The website does not detail specific treatment methods or guarantees, leaving questions about the exact techniques and any follow‑up schedules.
When It May Not Fit
If you need a supplier who publishes treatment methodologies, warranties or fixed packages online, this provider may feel opaque. For large multisite developers wanting a nationally standardised contract or a demonstrable performance record, a firm with published case studies and method statements might be a better match.
If you require the sort of thermo‑electric, chemical‑free treatment that Japaneseknotweedagency highlights, check method compatibility before engaging.
Who It’s For
Homeowners, local authorities, small developers and ecological managers in Ireland who want an accessible first check and a written management plan. It suits clients who prioritise site assessment and planning over immediate fixed‑price removal packages.
Real World Use Case
A homeowner suspects knotweed near a boundary hedge. They email a photo and receive a free identification. A follow‑up survey creates a bespoke management plan that lists monitoring dates, a phased treatment programme and waste disposal steps to satisfy a planned property sale.
Pricing
The website presents information only and does not list fixed fees. Pricing requires a survey or enquiry, after which the firm issues a tailored quote based on infestation size, required treatment and waste management needs.
Website: https://knotweedsolutions.ie
Comparison of Japanese Knotweed Removal Services
To address Japanese knotweed infestations effectively, selecting the right removal service provider is crucial. This comparative analysis evaluates offerings from Japanese Knotweed Agency, Japanese Knotweed Solutions Limited (JKSL), Environet UK, Japanese Knotweed Ltd, and Knotweed Solutions, highlighting differences to guide decision-making.
Environmental Considerations and Treatment Options
Japanese Knotweed Agency uniquely provides chemical-free thermo-electric eradication. This eco-conscious method appeals to clients constrained by pesticide restrictions or preferring sustainable practices. Environet UK emphasises environmentally friendly solutions and zero landfill policy, a strength for sustainability-focused property owners. While JKSL integrates MeshTech, an alternative to herbicides, their predominantly chemical-based methodology might not satisfy stricter ecological requirements.
Documentation and Compliance
Both Japanese Knotweed Agency and JKSL provide detailed records to support legal and mortgage processes. However, JKSL’s JK Connect system enhances user access to real-time project data, an advantage for clients requiring transparent and continuous operational updates. Conversely, Knotweed Solutions provides feasibility and flexibility through their free identification service, efficiently facilitating initial issue assessments without upfront commitments. This approach suits clients at the preliminary stages of property management.
Best Fit Scenarios
-
Japaneseknotweedagency.co.uk is ideal for property owners seeking combined eco-friendly treatment, legal backing, and records for lender assurance.
-
Japanese Knotweed Solutions Limited is suitable for developers or organisations prioritising detailed project oversight and guaranteed site clearance results.
-
Environet UK appeals to stakeholders prioritising environmentally sustainable practices and minimal ecological impact.
-
Knotweed Solutions is a fit for small-property owners needing an accessible entry point into knotweed management through no-cost initial identification.
Our Pick
Japaneseknotweedagency.co.uk stands out for its unique chemical-free thermo-electric eradication method, lending itself to users aiming for sustainable, documented, and refined knotweed management. However, those prioritising rapid project visibility may prefer JKSL for its data-rich tracking system, and clients with strict budgetary constraints may explore other entry-level options.
Japanese Knotweed Removal Services Comparison
This table compares leading Japanese Knotweed removal services, focusing on unique features, core offerings, best-suited client scenarios, and limitations to aid in selecting the ideal provider.
| Service Provider |
Key Differentiator |
Core Services |
Best For |
Notable Limitation |
| Japaneseknotweedagency |
Thermo-electric, chemical-free removal; national register |
Surveys, electrothermal treatment, legal/financial support, national register |
Homeowners requiring documented eradication and legal support |
Requires multiple sessions over a 1-3 year period |
| Japanese Knotweed Solutions Ltd (JKSL) |
10-year insured guarantee, JK Connect portal |
Surveys, phased treatment, environmental techniques, insured guarantees |
Developers and conveyancers seeking transparent, guarantee-backed services |
Requires initial survey to determine project-specific pricing |
| Environet UK |
Employee-owned, environmentally-focused solutions |
Surveys, tailored plans, waste-free removal, zero landfill |
Environmentally-conscious homeowners and professionals |
Early cost estimates may lack detailed scope |
| Japanese Knotweed Ltd |
National reach with guarantees |
Surveys, herbicide plans, excavation, compliance-based reporting |
Property clearance and documented compliance |
Limited suitability for non-chemical treatment preferences |
| Knotweed Solutions |
Free initial identification service, Ireland-focused support |
Surveys, management plans, treatment programmes, ecological documentation |
Homeowners prioritising affordable initial consultations |
Lack of detailed service or pricing information on the website |
Trusted Japanese Knotweed Contractors for Chemical Free Eradication
Dealing with Japanese knotweed can present serious challenges for homeowners and property professionals alike, especially when mortgage approvals and property sales are at stake. The top contractors on the market highlight concerns such as thorough surveys, documented treatment records, and environmentally responsible methods. Japaneseknotweedagency addresses these key user concerns with its pioneering chemical free thermo-electric treatment that targets rhizomes effectively without herbicides.
Benefit from a full service that includes expert surveys across England, Wales and Ireland, excavation, and root barrier installation under one trusted provider. Clear records and a national register support conveyancers and lenders, making the remediation process more transparent and lender-friendly.
Act now to reduce property risk with a greener solution. Book a professional survey at Japaneseknotweedagency and take control of invasive species management with a method designed just for you.
Frequently Asked Questions
How does Japaneseknotweedagency’s chemical-free treatment work?
Japaneseknotweedagency uses thermo-electric eradication to target rhizomes without chemicals. This method depletes energy within the underground network, providing a sustainable option for homeowners concerned about environmental impact. Consider booking a survey to explore this unique treatment further.
What is the difference between Japanese Knotweed Ltd and Japaneseknotweedagency regarding rapid identification?
Japanese Knotweed Ltd offers rapid expert identification by photo or on-site visit, which is vital for those needing prompt assessments. In contrast, Japaneseknotweedagency provides in-depth surveys and documented treatment records, which are essential for meeting lender requirements during property transactions. If you prefer thorough documentation alongside rapid identification, Japaneseknotweedagency may suit your needs better.
Which contractor offers a longer guarantee for treatment?
Japanese Knotweed Ltd promotes a 10-year insured removal guarantee, making it an attractive option for clients needing strong assurances. Meanwhile, Japaneseknotweedagency’s documented treatment records enable a long-term support framework, which can also help in meeting mortgage requirements. Weigh your focus on insurance against the thorough documentation provided by Japaneseknotweedagency when deciding.
Can I rely on Japaneseknotweedagency for legal and financial support?
Yes, Japaneseknotweedagency offers legal and financial assistance, aiding homeowners through the complexities of mortgage difficulties and property value claims. Their combination of treatment records and legal backing is designed to support property transactions and alleviate concerns. This streamlined support can be crucial for anyone worried about navigating the financial aspects of invasive species management.
What potential drawback should I consider when choosing Japaneseknotweedagency?
While Japaneseknotweedagency provides an effective chemical-free solution, treatment often requires multiple sessions over one to three years, which might not accommodate those facing urgent sale or development deadlines. It’s important to evaluate your timeframe against the treatment plan needed for effective remediation.
Recommended